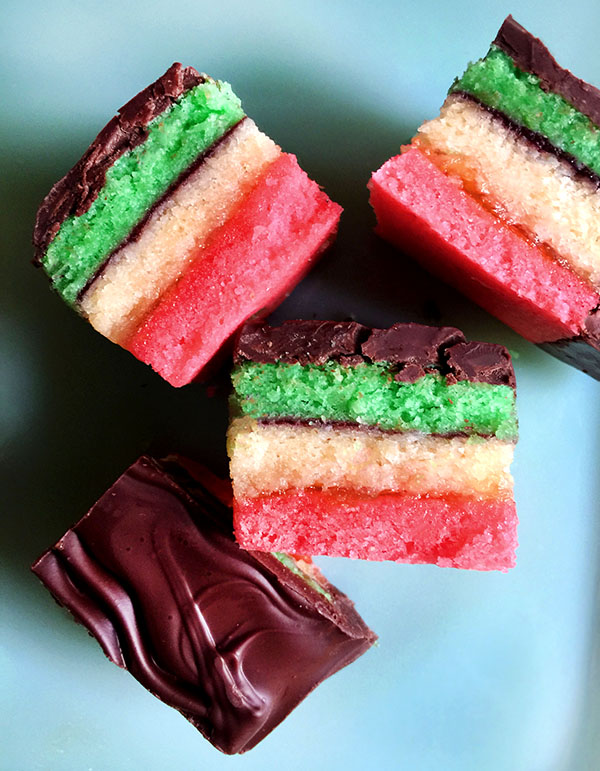
Every year, as the holidays approach, I study countless cookbooks and recipes that share cookie traditions from other places, and for awhile, I’m overwhelmed in trying to choose which cookies I’m going to make. At a certain point, it gets to be too much — I get behind, and I have to narrow it down if anything is to be done at all. Truthfully, I could (and should) be making cookies all year, and it makes more sense to do so, but holiday, aka cookie, season, becomes this time-crunched period of marathon baking and creating sessions. It was that way again for me this year, going into the wee hours, with some highlights…recipes that surprised and delighted me, were worth the trip and will be remembered for holiday seasons to come.
Triple layer threats and promises…
[F]or four or five years at Christmas, I had my heart set particular recipe, called a Neopolitan/Rainbow/Italian Flag Cookie, which is really a petit four type goody that is three thin layers of cake (green, white and red), cemented together with jam and coated in dark chocolate. As alluring as this beauty — an Italian cookie tradition — is, the time and effort involved (I had not only read about it, but seen it put together on a few cooking shows) was daunting enough that over the course of several holiday seasons, was put off (or put on the shelf) as I ran out of hours and energy to tackle it. I found a number of recipes for these cookies, all very similar, but went with one from one of my fave Italian chefs, Lidia Bastianich, a prominent cookbook author, restauranteur and PBS cooking show host. These cookies are big in Italian bakeries, particularly during the holiday season, when the Italian cookie plate is a showstopper.I planned ahead this year so these cookies would not slip off my list, setting aside the time and buying the needed ingredients, including the flavorful almond paste needed to give the cake layers their unique taste and texture.
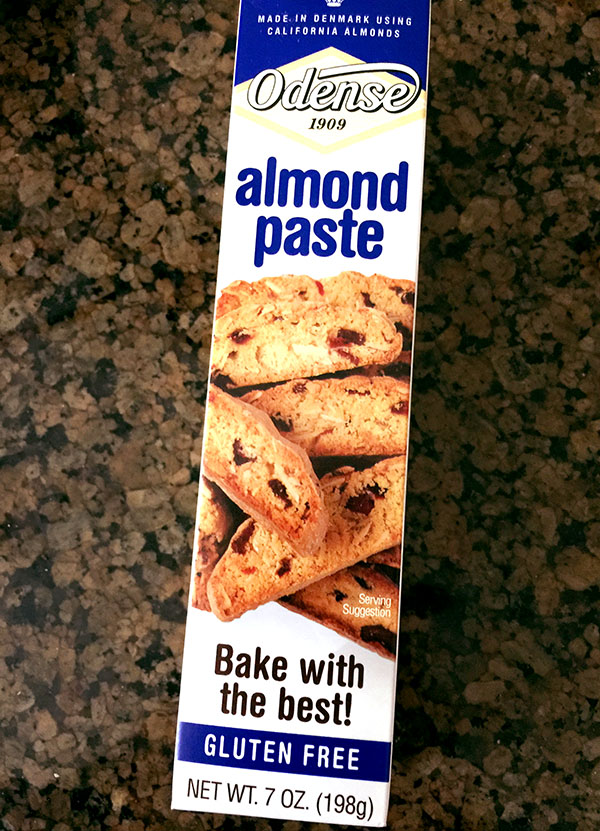
[I] planned ahead this year so these cookies would not slip off my list, setting aside the time and buying the needed ingredients, including the flavorful almond paste needed to give the cake layers their unique taste and texture.
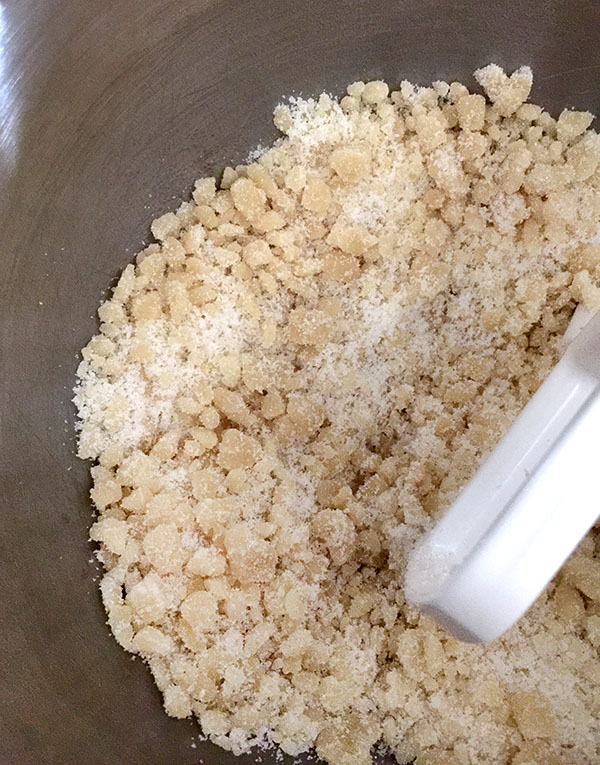
[T]he cake making begins with breaking down the dense almond paste by mixing it with some sugar until coarse and evenly crumbly. A large amount of softened butter is added in small bits to make a smooth creamed mixture that gets smoother with the addition of four egg yolks. A blend of flour and salt is then mixed in.
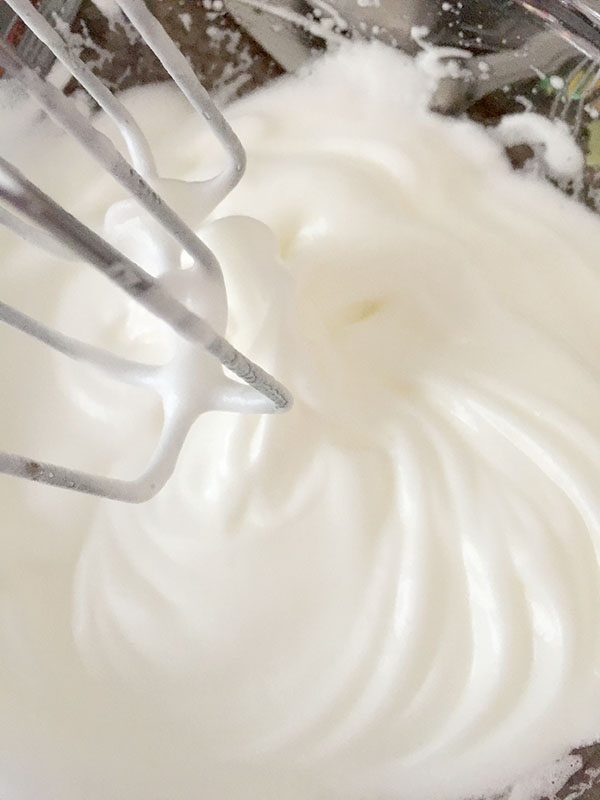
[I]n another bowl, the egg whites separated from the yolks are beaten to a stiff near-meringue.Â
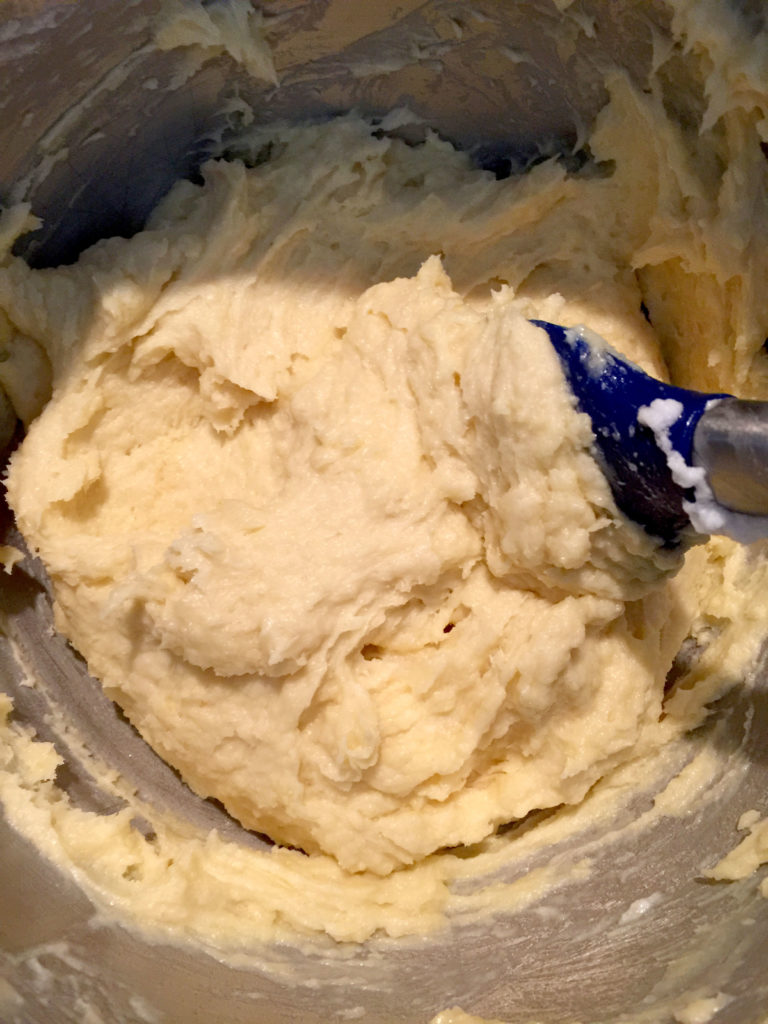
[T]he egg whites are folded in to the rest of the thick batter. It takes a bit to fold and incorporate the whites fully, but they do lighten the batter nicely.

[T]he batter is divided into thirds. To one, green food coloring is added to bring it to a nice medium shade. To another, red is added to make it deeply pink to nearly red. The third batter is left uncolored.
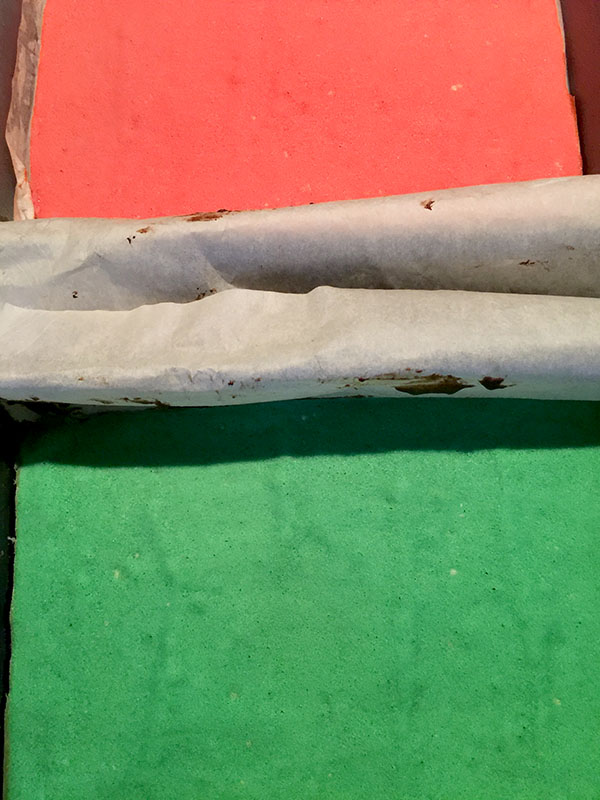
[I]n three 13-by-9-inch cake pans (or sheet pans) that have been lined with parchment, buttered and floured; the batters are spread in thin, even layers in the pans.Â
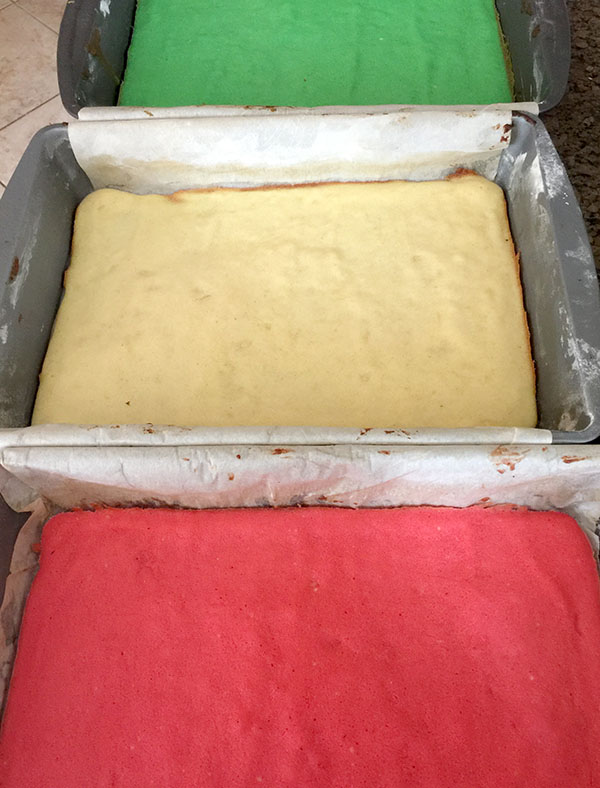
[T]he cakes bake up in 10 minutes or so, in smooth, lightly golden sheets that I allowed to cool completely before taking on the assemblage of these cookies the next day.
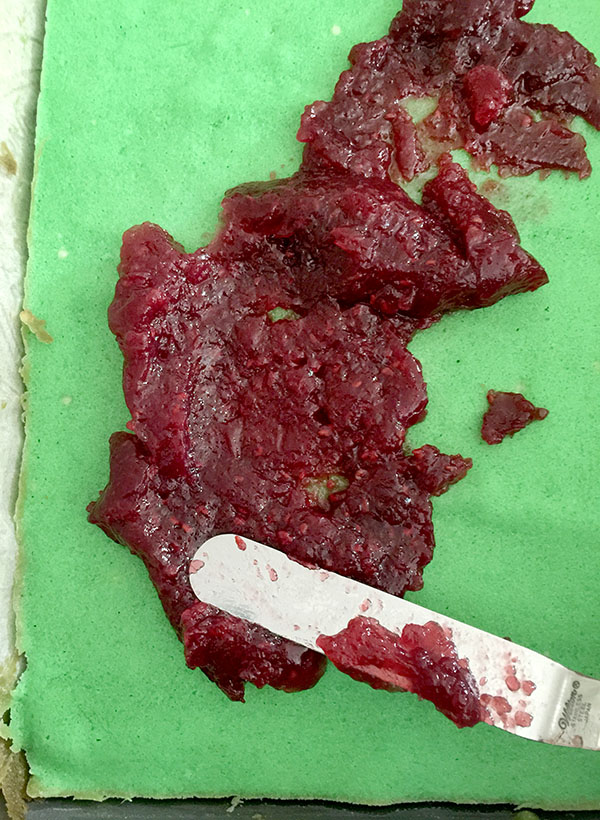

[S]ome recipes for these cookies call for using apricot jam, some call for raspberry. While Lidia’s was all apricot, I decided to have one layer of raspberry and one layer with apricot…why not? These were meant to be festive, so the more jam, the merrier, and more flavorful and colorful.
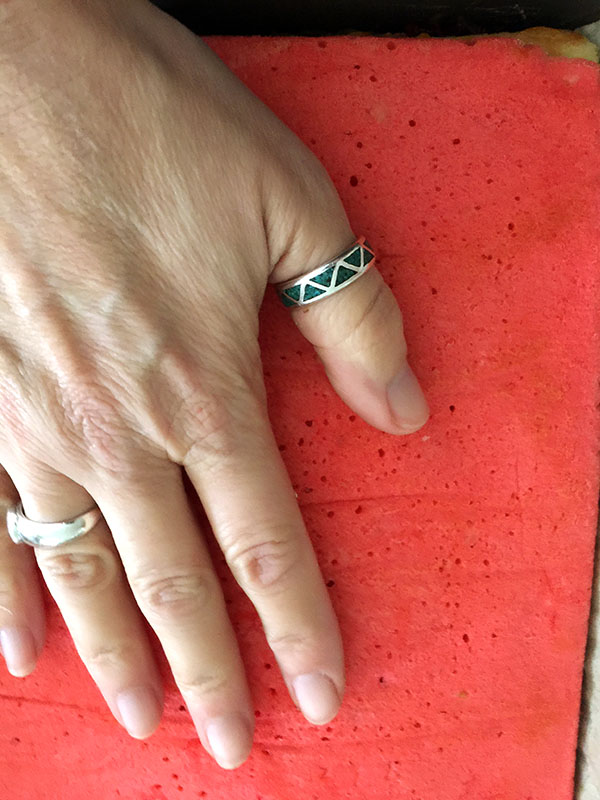
[I] was concerned about the unmolding/ dislodging/transferring/layering/stacking the thin cake layers on top of each other, but was pleasantly surprised, as I pulled up each cake layer using the parchment “handles†and peeled and laid the layers on top of each other, I was relieved at the sturdiness of the cakes.
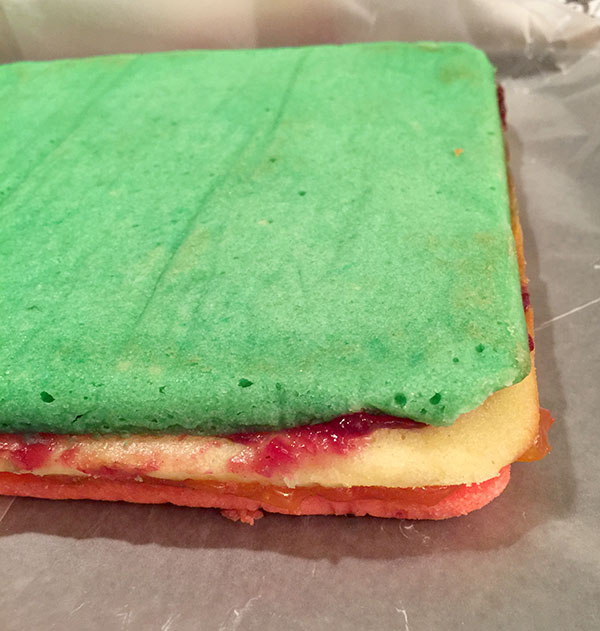
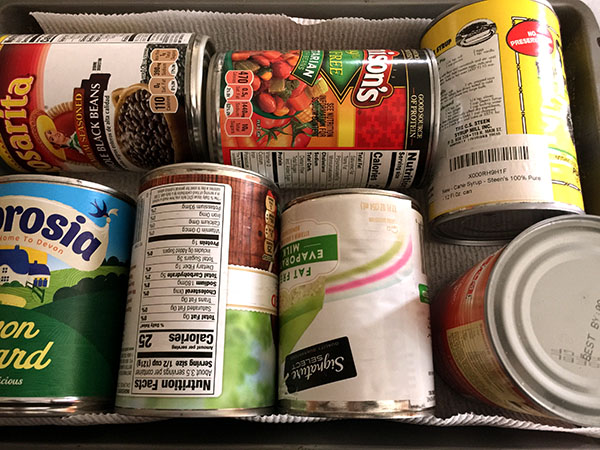
[W]hen the final layer was placed on top of the other two, it was time to weight the layers to ensure everything sandwiches together tightly. I placed parchment and a pan on top of the top layer, then weighted all down with canned items, hoping that would provide even heaviness. This now had to wait (with weight) for at least four hours.
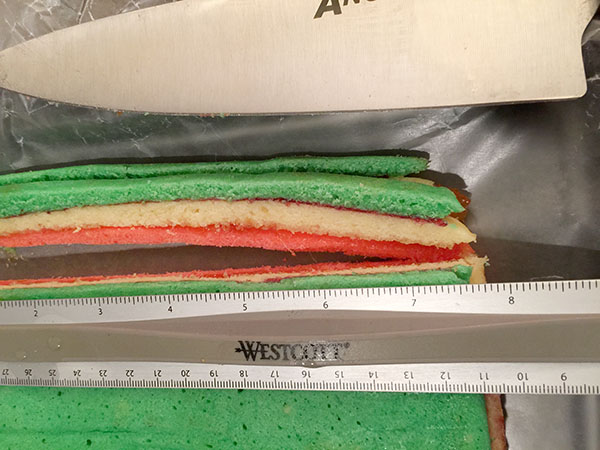
[A]fter flipping the whole cake/cookie slab over onto a waxed paper-lined tray, so that the green layer was on top, it was time to trim the edges. I used a metal ruler to aid in this process (I’m not known for my ability at straight lines). The edges trimmed pretty easily and neatly.
[I] melted a pound of chocolate (in the form of chocolate chips) with just a wee bit of shortening (not in the recipe, but a habit I have when using chocolate to coat things for a little gloss). I smoothed it over the top and sides (using hot water to keep the pallet knife warm). It did pool a bit at the bottom, but I figured this was less wasteful than letting it drip through a baking rack.
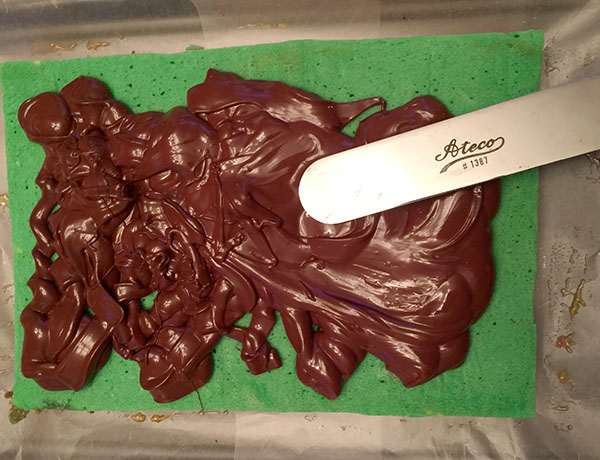
[O]nce the chocolate was spread over all surfaces, I used a fork to make wavy lines down through the the top to create a design.
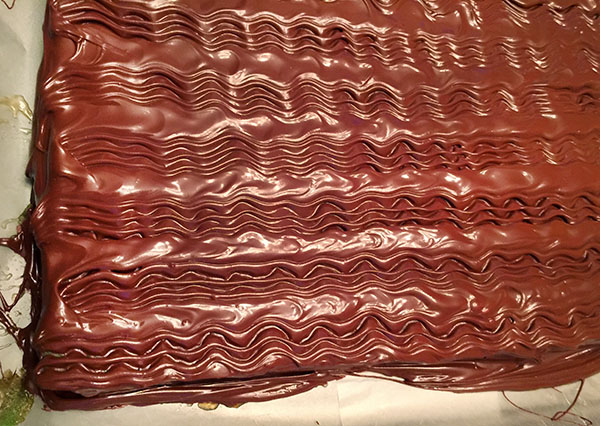
[A]s I mentioned earlier, I’m not known for my ability to cut straight lines or make even…anything, so cutting this diminutive layers and ensuring the little cakes came out clean and pretty caused me to move slowly and yet still break out in a cold sweat. Still, success! I managed to cut into pieces that were fairly close to the same size and the chocolate on top only cracked here or there (again, aided by a knife warmed in hot water).
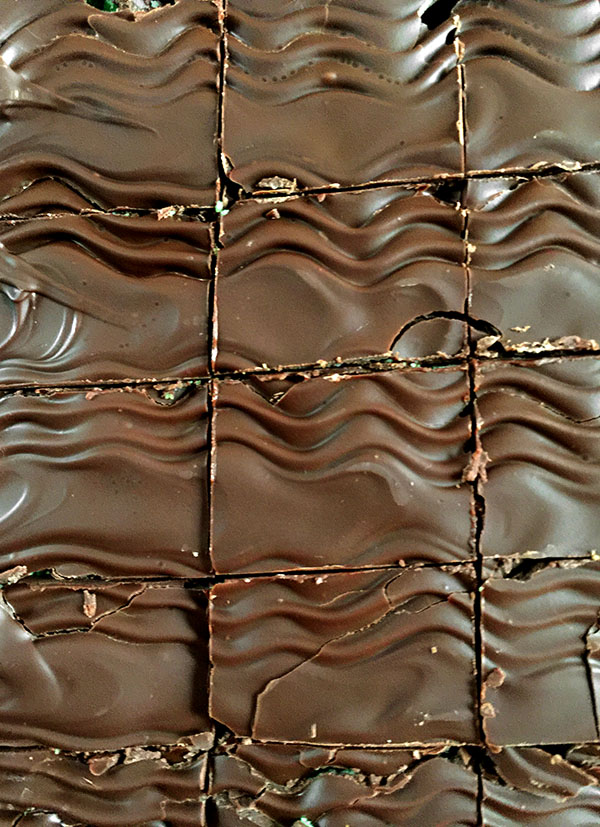
[W]hat pretty little cookies! Sometimes, you can amaze even yourself. I had waited this recipe out and was now fulfilling my goal. The colorful layers were made even lovelier with the shades of the two different jams. A plate of these beauties looked quite impressive.
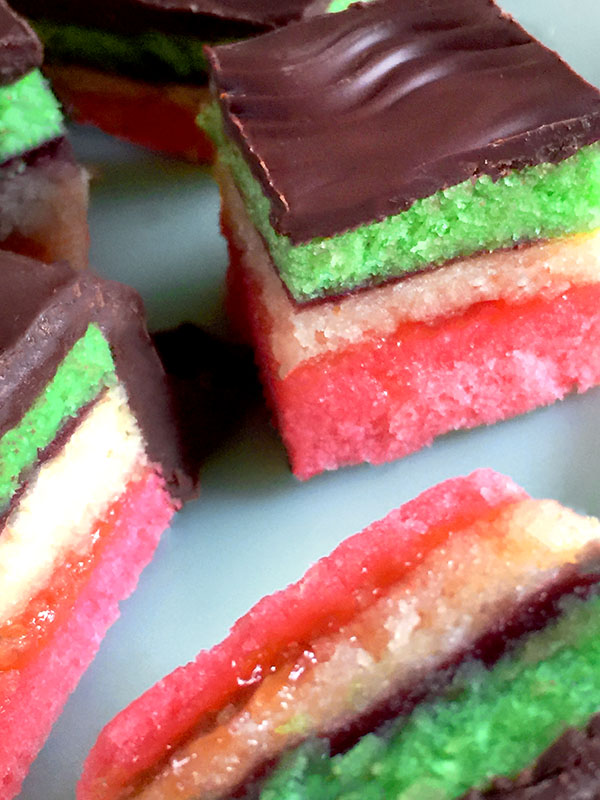
[A]nd they were not all for show. As I samples one, biting through the deep, dark chocolate coating, then the tender, moist almond cake and those jam layers, I was truly impressed! Delicious! All the fuss and wait and wonder about these was well worth it! If you want to try them, you’ll find the recipe here: https://www.foodnetwork.com/recipes/rainbow-cookies-recipe-2109791.
Cookies on a string…
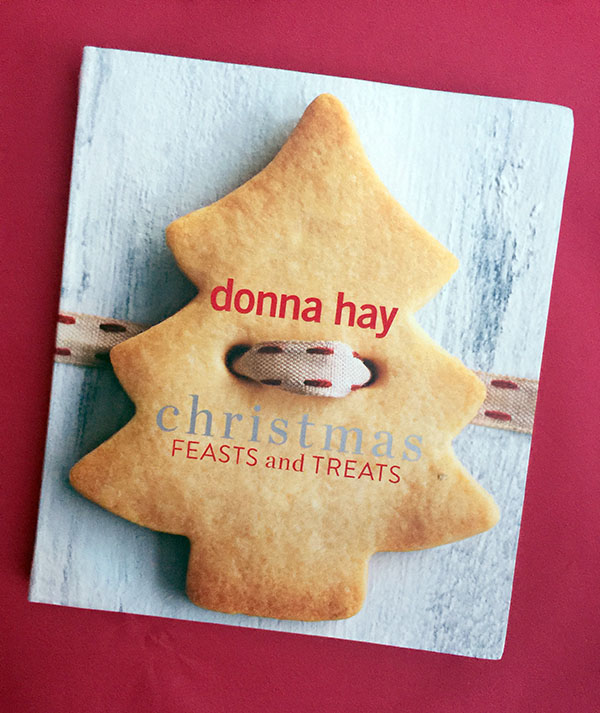
Sometimes, even with all your planning, certain “can’t ignore†baking projects come along that you were not expecting. I’m not sure “spontaneous baking†is an accurate term, but if you ware a member of an online cookbook club or baking group, you can receive an “assignment†to make a certain recipe that you may have not necessarily been on your schedule, or even something that may not even seem to be in your wheelhouse. The Rainy Day Bites Cookbook Club I recently joined on Instagram offers a different cookbook to cook from each month, and while it’s your option to bake what you want from the cookbook (or pass on it all together), a few recipes are chosen to be completed by certain dates and participants are asked to post photos of the finished product on Instagram. I would not have necessarily known or cooked from Australian food stylist, TV show host and author Donna Hay’s delightful book, “Christmas Feasts and Treats†(Fourth Estate/Harper Collins; 2018) had it not been for this cookbook club. Once I got this book, however, and fell in love with the inspiring and beautiful recipes within (it made a nice addition to my growing Christmas cookbook collection), and even though I had much to do, I put some things aside to make a gingerbread recipe.
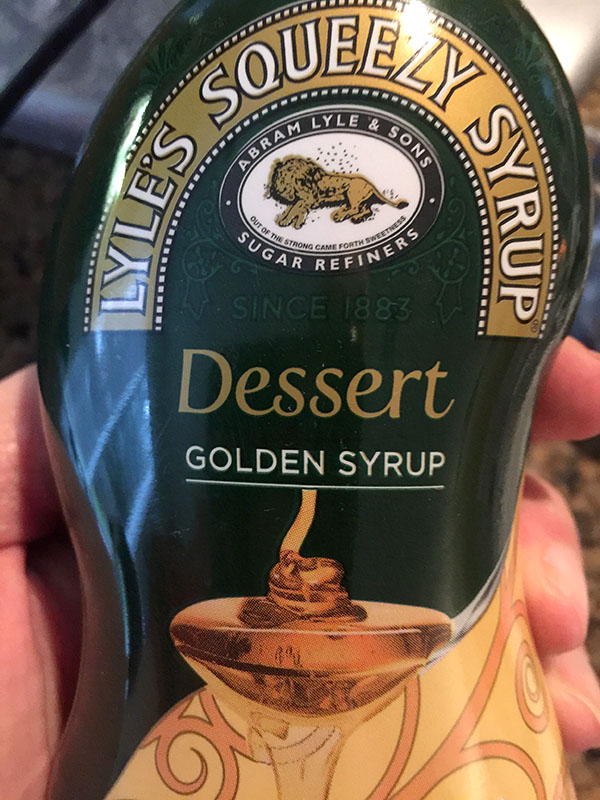
[N]ow I’ve made a lot of gingerbread, mostly a certain recipe that I usually turn into gingerbread bunnies. Hay’s Basic Gingerbread Cookie Dough looked to be so versatile (and sturdy), she made everything from wreaths to small villages from it. Ingredients for it differ a bit from what we are used to; for example, the recipe calls for “golden syrup,†instead of molasses, so I had to order that, and it also calls for a “mixed spice,†which, upon looking it up is a blend of cinnamon, nutmeg, allspice, cloves, ginger, coriander and mace (or variations of this). I decided to improvise and just blend something together on my own.Â
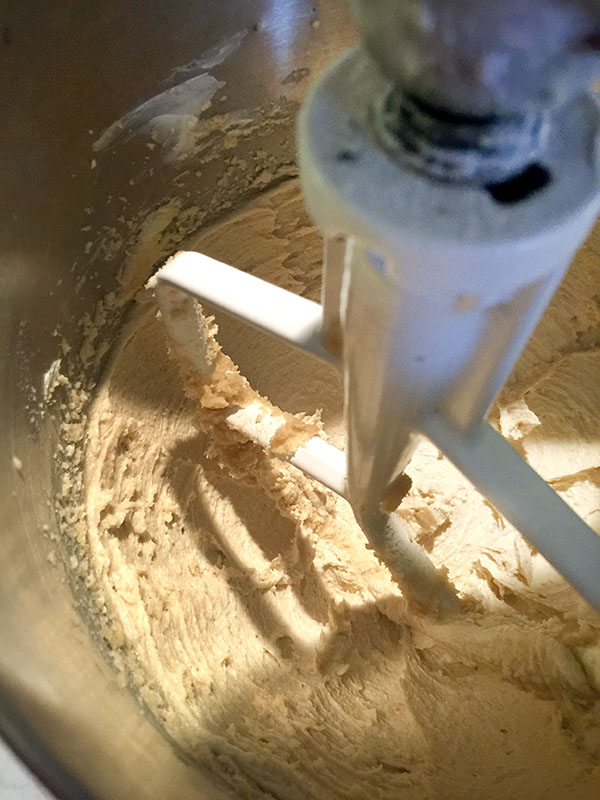
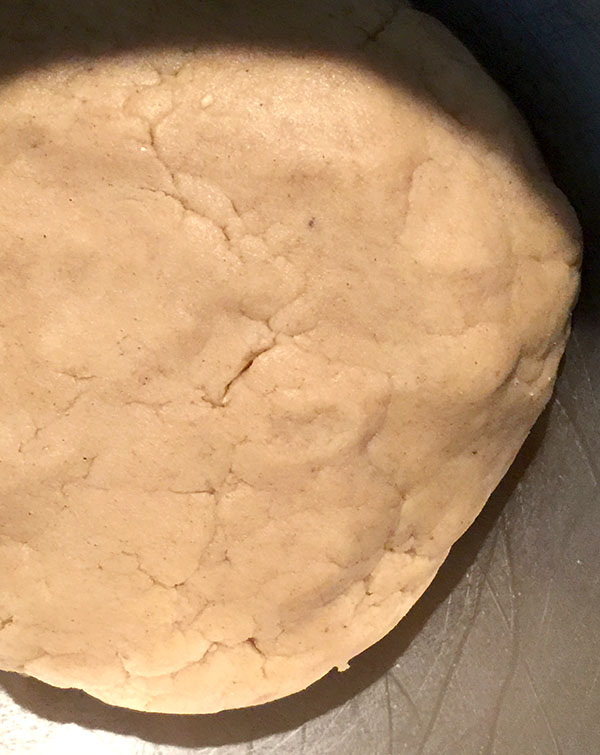
[T]he dough is a buttery blend brought together quite easily. It is paler than traditional gingerbread dough (think blonde gingerbread). I made the dough a day ahead of shaping and refrigerated it.
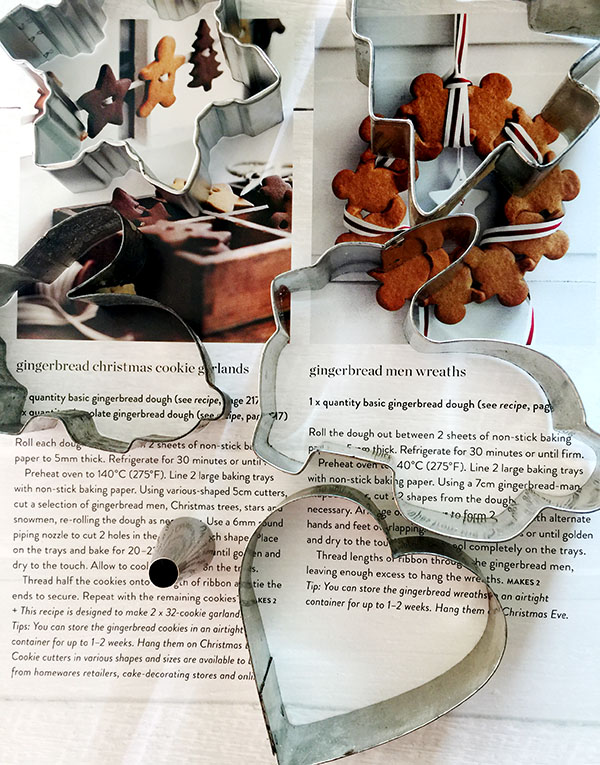
[T]he day of shaping and baking, I divide the dough up in small amounts to roll out between sheets of parchment and chill.I am completely predictable (to those who know), and I could not resist cutting bunnies out of this dough, along with some snowflakes, trees and hearts. What was destined for these shapes? Well, it seemed unlikely, but a cookie garland…daunting, but possible!
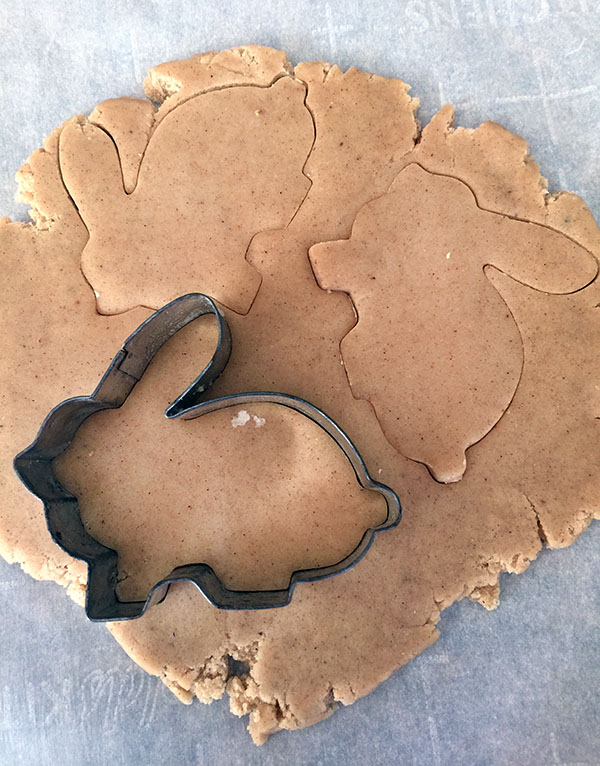
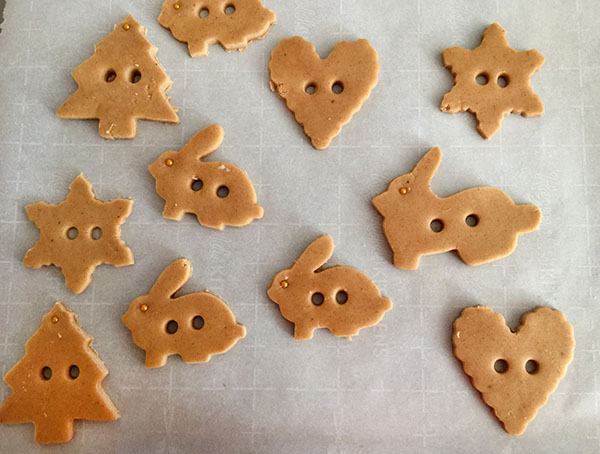
[H]ay provides simple guidance for how it all works, including using a piping tip to create holes in the unbaked cookies that will allow ribbon or string to be threaded through. I cut and prepped my future garland, still in slight disbelief that I was making such a thing.
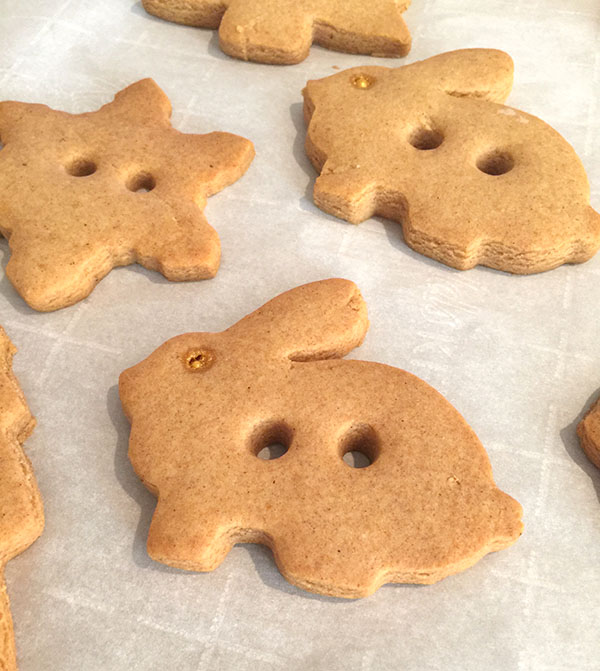
[T]he sturdy, aromatic cookies held their shape and baked up to a nice golden finish.Â
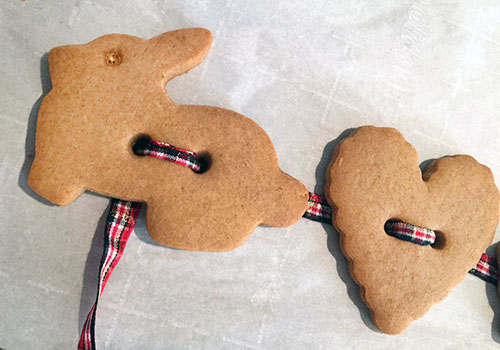
[I] allowed the cookies to cool and figured out my little parade of shapes for the garland. I had found a festive, but understated plaid ribbon that seemed the proper size for the cookie stringing. I have to say, all of my rushing, worrying, impatience, frustration, irritation of recent weeks fell completely away as I stood at my countertop drawing ribbon through gingerbread cookies. It was a peaceful, focused period (rare these days) that brought nothing but pure delight. As unlikely as a cookie garland had seemed in my life, it was probably one of my most enjoyable baking experiences of the holiday season!Â
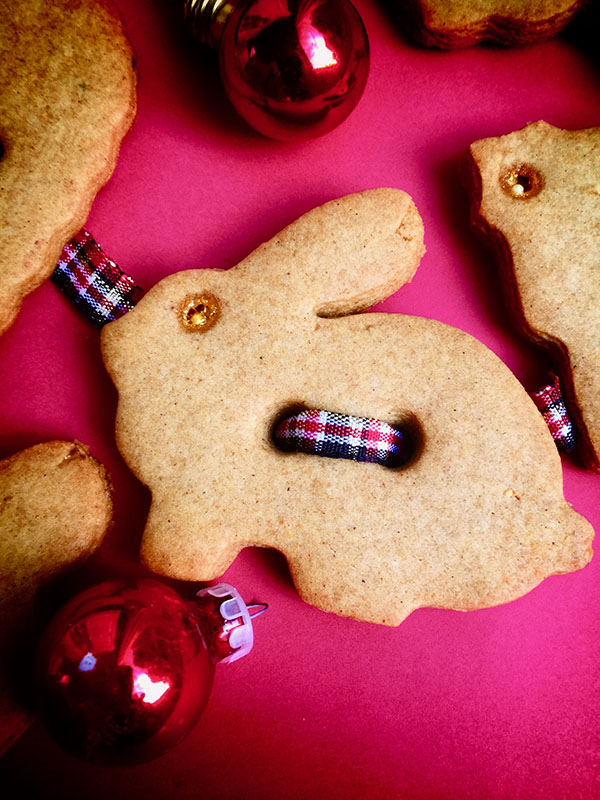
[A]nd the little cookies (delicious, too, as I held some back to eat), on their ribbon stood strong enough to add a great deal of festive to my Douglas fir. Be open to the baking road not taken…
Check out the recipe for these and other treats at Donna Hay’s website: https://www.donnahay.com.au/recipes/gingerbread-men-garland

Finding Fika in a jam cave…
I know enough Swedes (and other Scandinavians) to know that they know how to keep Christmas well. In recent years, my burgeoning interest and secret longing to join the ranks of these upper Northerners who seem to know how to live right and happy has kept me dipping into tomes (like those on “hygge†the Scandinavian ritual of placing a priority on being cozy all year through) holding some of the secrets of how they hold onto happiness and generate festive-ness during the winter season and beyond, despite having the shortest, darkest days of anyone. One key activity…baking!
“Fika†is the Swedish term for, essentially, coffee break, and it is revered and practiced consistently. And the coffee break for Swedes usually features not just one, but numerous homemade breads, cakes, cookies and pastries (according to one of my Swedish friends, the Swedes also hike and walk rigorously to offset all the butter).
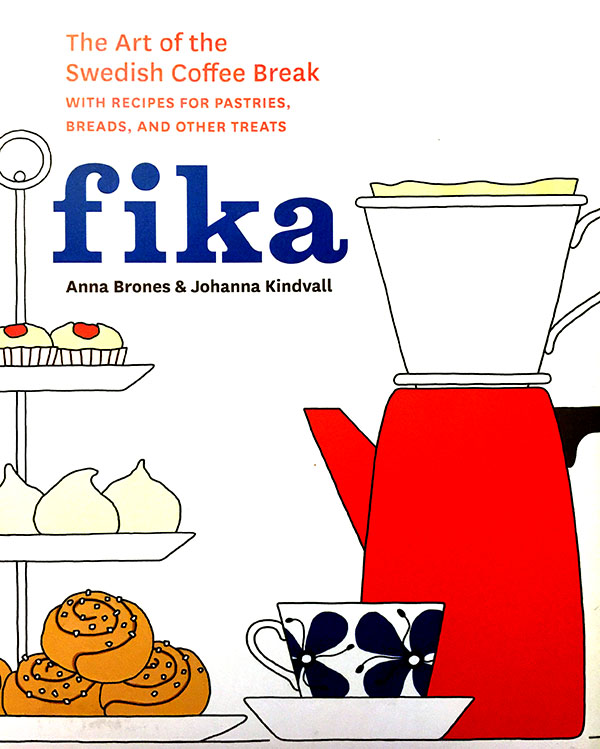
â€Fika: The Art of the Swedish Coffee Break,†by Anna Brones and Johanna Kindvall (Ten Speed Press), is a charming little cookbook with drawn illustrations that explores all things Fika, from explaining the practice to featuring a wealth of tasty coffee break recipes.
[B]y holiday time, my baking barometer was on full insistence that I get into the kitchen and try at least one recipe from this book. I had marked several, but one for “Syltgrottor†or “jam caves†won out all others (for now), as they resembled my favorite thumb jam prints that I had enjoyed since childhood.Â
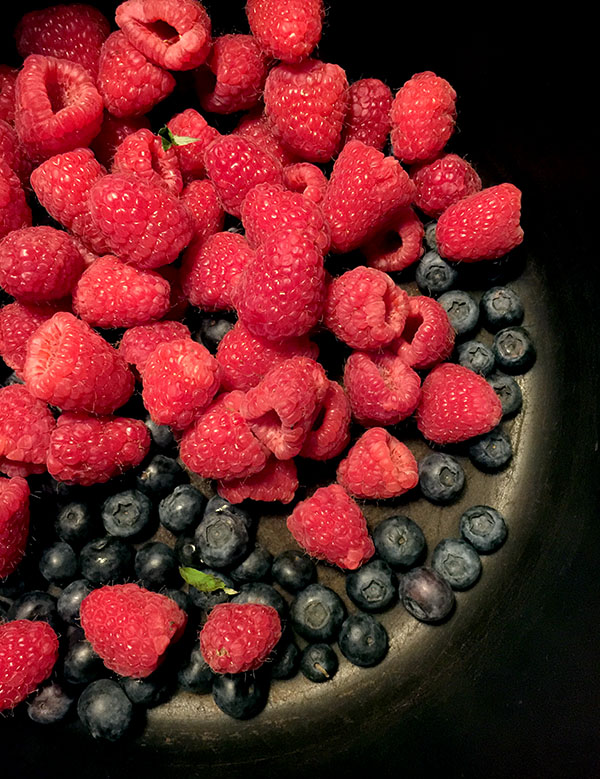
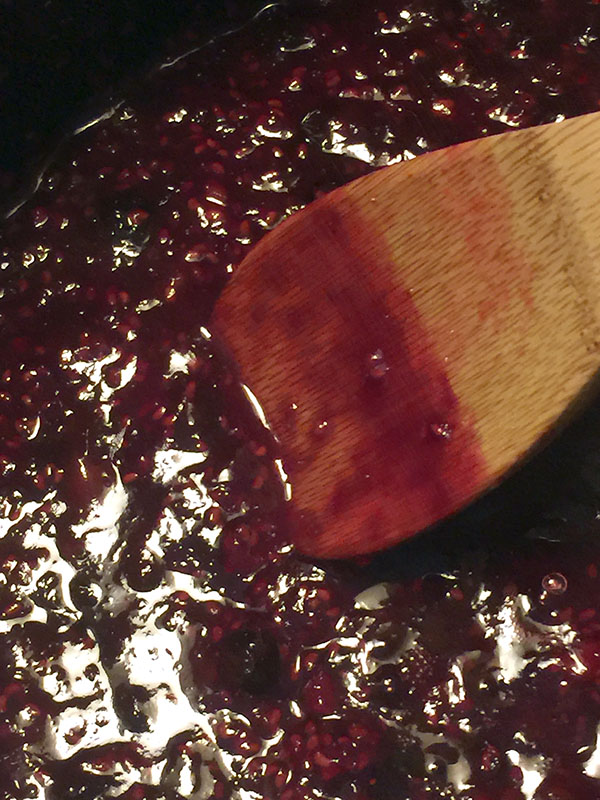
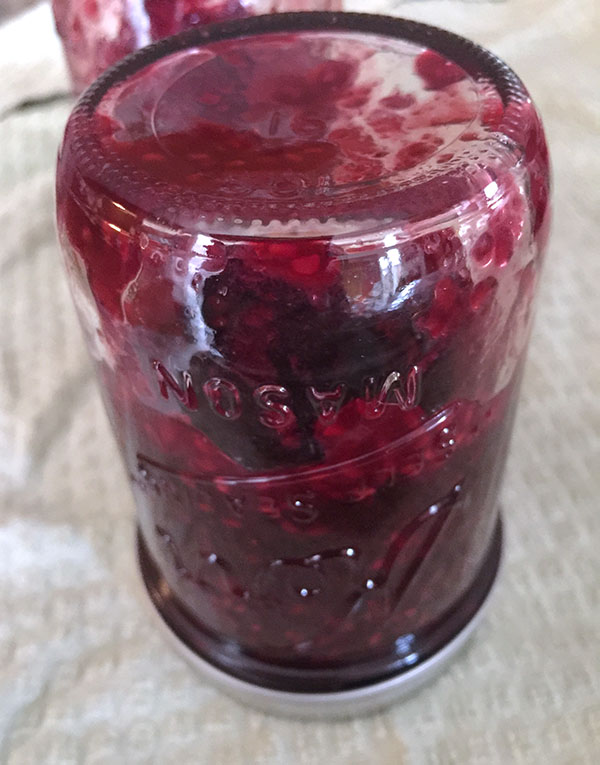
[T]he cookies begin — or can, if you are ambitious — by making your own jam! The Queen’s Jam (Drottningsylt) recipe in the book is a simple one, beginning with raspberries and blueberries and sugar and ending, after a short cooking time, with a couple of small jars of homemade jeweled fruity goodness with which to fill your cookies.
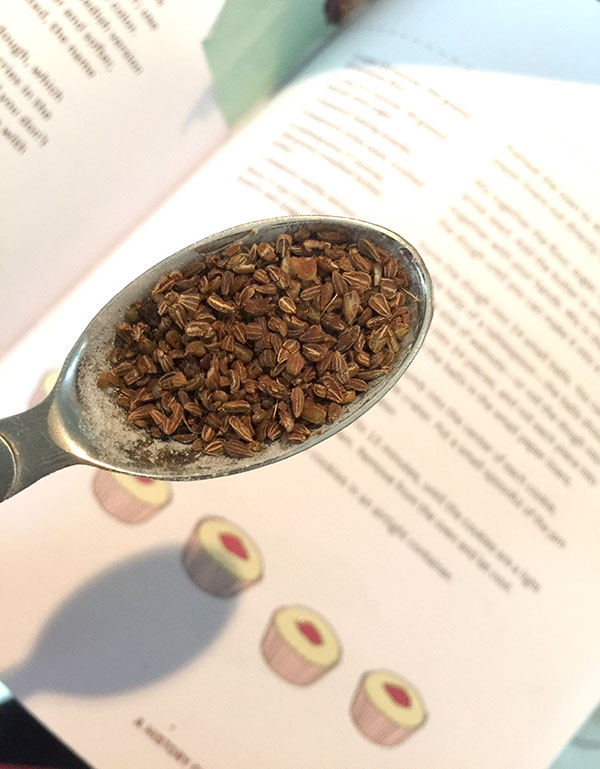
[T]he cookie dough is a very simple blend of butter, sugar, flour, baking powder, vanilla extract (I also added a wee bit of almond) and anise seed (slightly crushed).
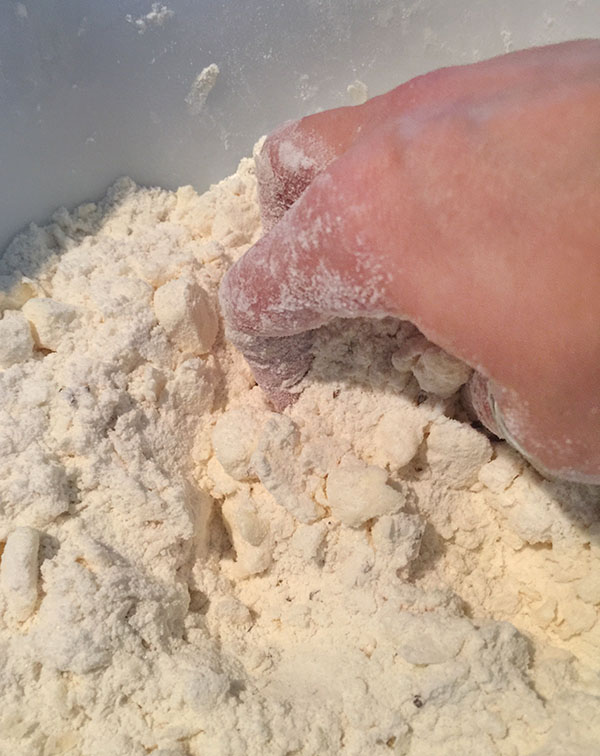
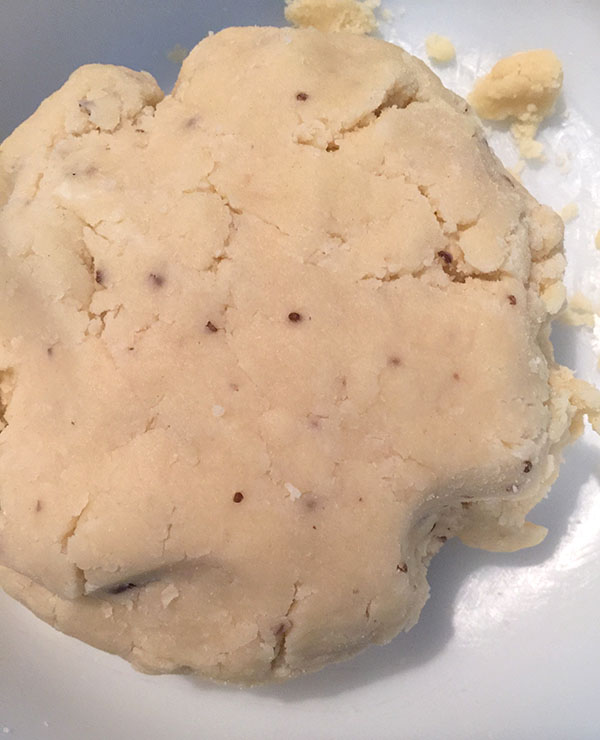
[T]his dough is blended by hand, butter into the dry ingredients. With no other wet ingredients (outside of the extract) in the picture, it seemed unlikely that this dough would be anything other than a bowl of crumbs, but with a bit of time, it comes together to make a very malleable texture.Â
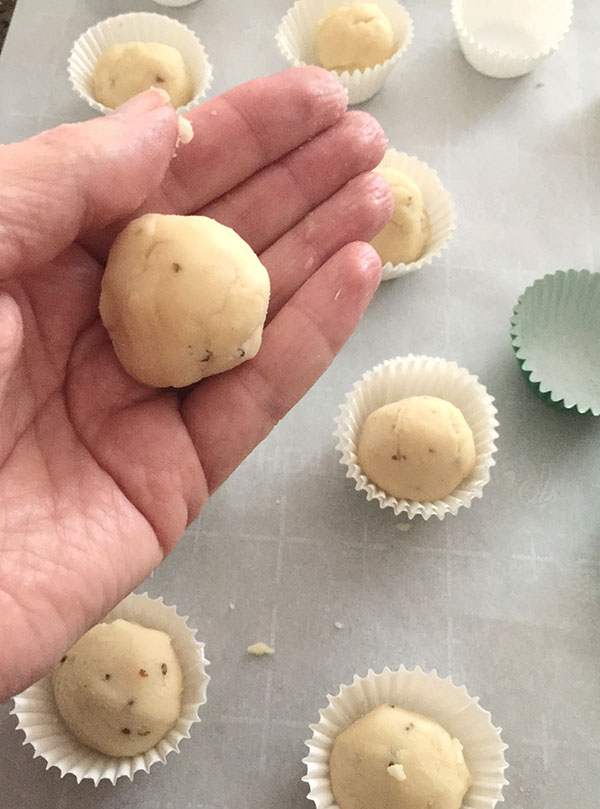
[O]ne thing that drew me to this recipe was that the cookies are baked in little paper liners. I thought this was genius, keeping the cookies uniform and contained and actually prettier in presentation.
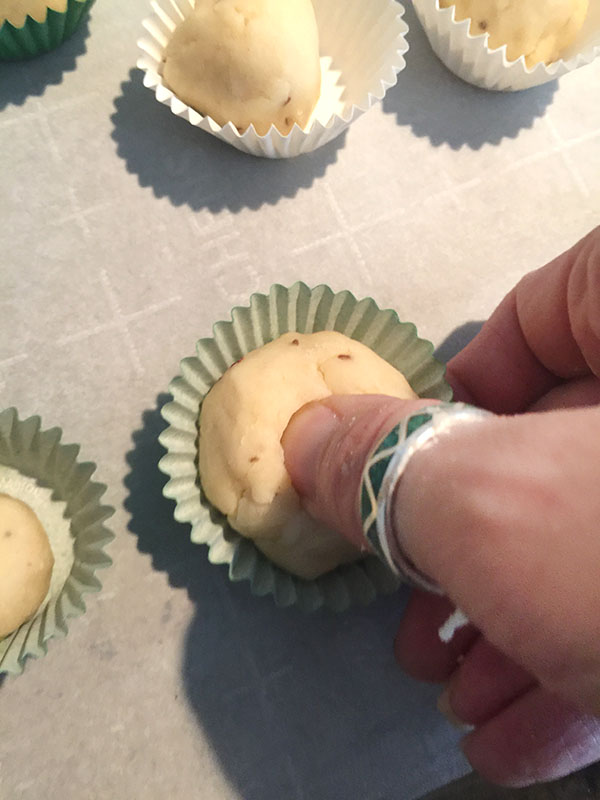
[O]nce I had carefully thumbed my way through making my indentations int he dough balls filling the liners, I took that beautiful homemade jam and delicately filled each “cave.â€
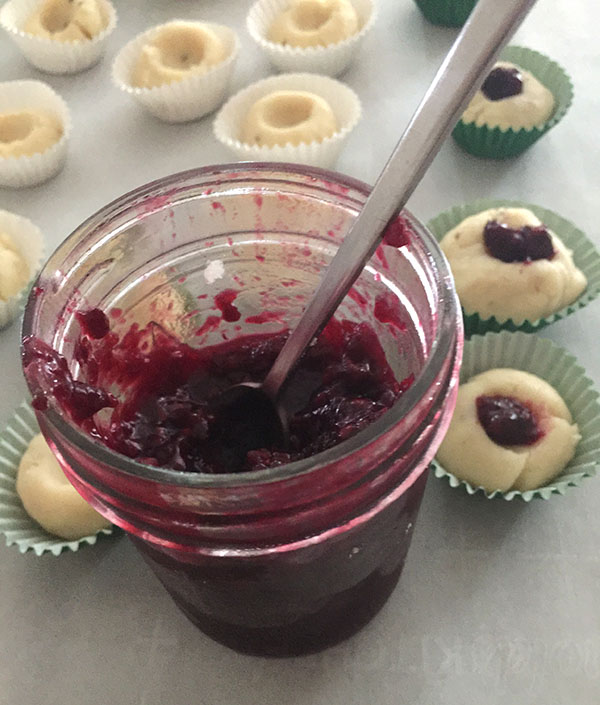
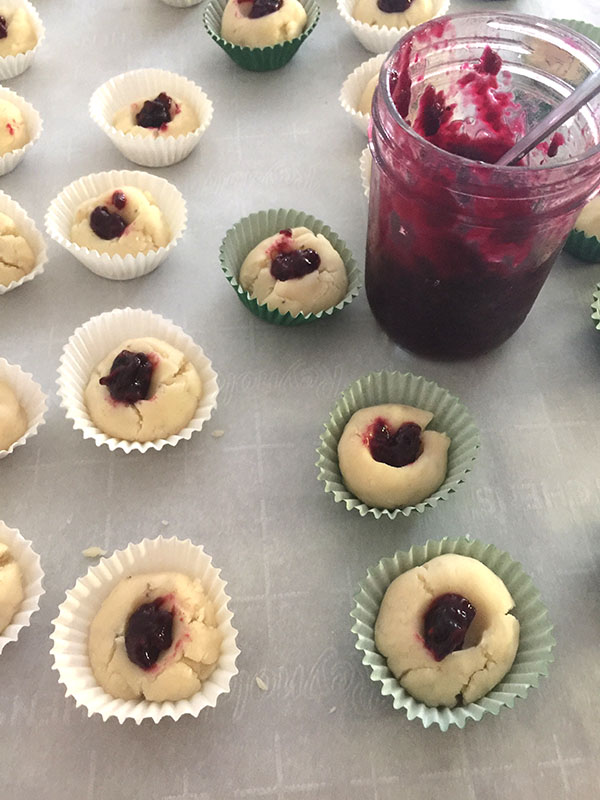
[T]he cookies smelled great baking, buttery with that whiff of anise. They were so pretty, too, lightly golden with flecks of seeds and that dark, jeweled center.
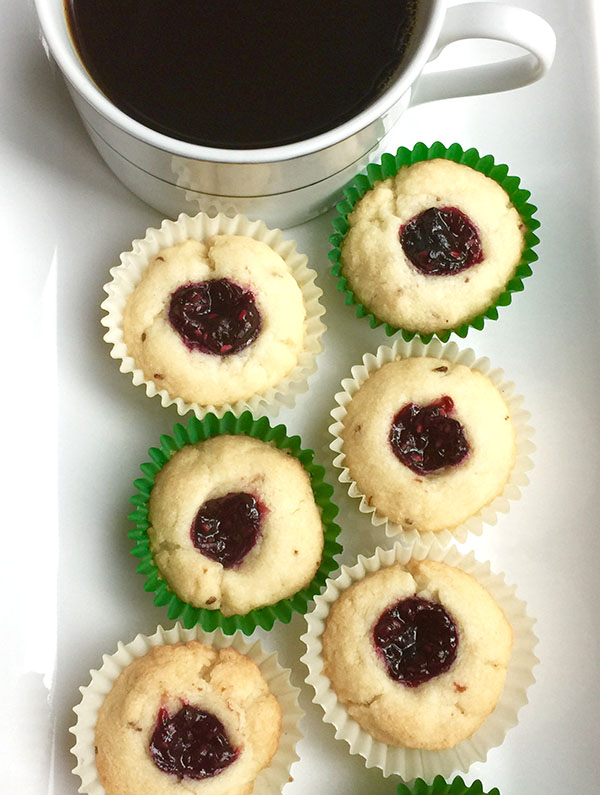
[H]ow could something so simple taste so good? This little cookies were like mini tarts, tender and flavorful, and that fruity jam was delightfully tart, too. These would be a delight on any cookie tray for tea or Fika, the whole year through!
Syltgrottor (Jam Thumbprint Cookies)
From “Fika: The Art of the Swedish Coffee Breakâ€
By Anna Brones and Johanna Kindvall (Ten Speed Press; 2015)
Makes 24 cookies
- 2 cups flour
- 1/ 2 cup sugar (book recommends natural cane sugar)
- 1 teaspoon baking powder
- 2 teaspoons anise seed, crushed
- 14 tablespoons unsalted butter, chilled
- 1/2 teaspoon vanilla extract
- 1/ 2 cup Queen’s Jam (recipe follows) or thick berry jam
Preheat the oven to 375F (the recipe recommends 400, but I decided to go a little lower). Spread 24 small paper liners out directly on a baking sheet.
Mix together the flour, sugar, baking powder, and anise seed. Add the butter in small pieces and work together with your hands until the mixture resembles meal. Mix in the vanilla and work the dough until you can make it into a ball.
Form the dough into 24 small balls. You can do this with the help of a tablespoon — the balls should be about the size of walnuts — or roll the dough into a log, slice into 24 pieces, and roll each piece into a ball. Place the balls in the small paper liners.
Push your thumb into the center of each cookie, making a little crater. Put a small bit of the jam into each crater.
Bake for 20 minutes until the cookies are just set and are a light golden color. Remove from the oven and let cool.
Blogger’s Note: I also added about 1/2 teaspoon almond extract to this recipe).
Drottningsylt (Queen’s Jam)
Makes one 16-ounce jar
- 2 cups fresh raspberries
- 1 cup fresh blueberries
- 3/4 cup sugar (book recommends natural cane sugar)
Place the raspberries, blueberries and sugar in a medium-size saucepan. Bring to a boil and cook over medium heat until lit reaches desired thickness, 15 to 30 minutes, depending on the juiciness of the fruit.
Remove from the heat and pour the jam into a clean sterilized jar. Screw on the lid and turn the jar upside down to create a vacuum. Let cool completely. Store in the refrigerator and eat within a month. If you want to store it longer, place the jam in the freezer.
Blogger’s Note: I added just a squeeze of lemon juice to the berries for this recipe.