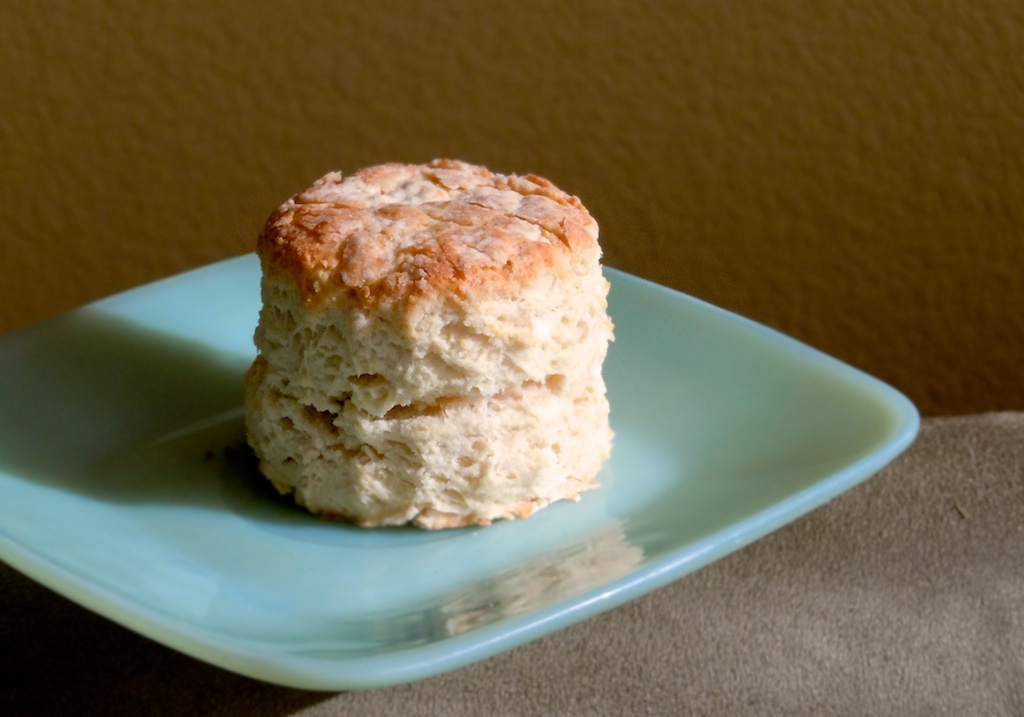
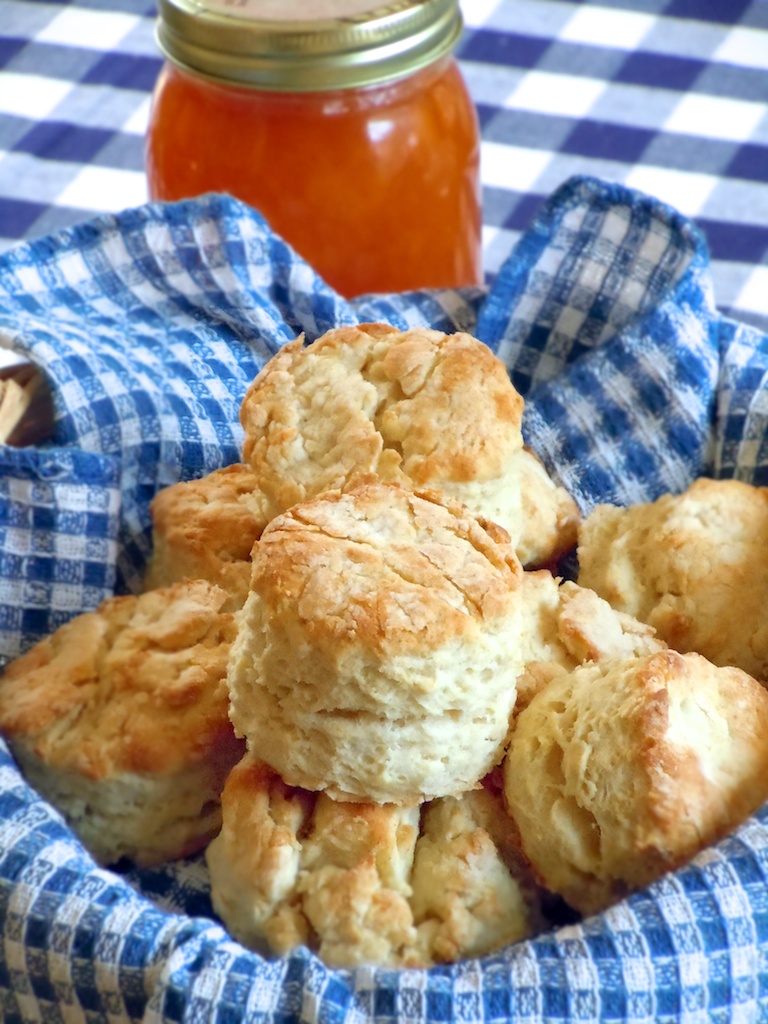
 [B]irthday cake got this blog started; a scone gave it the name. But I believe making biscuits may have been the very foundation for why I began writing my food blog.
Just a few years ago, in the wee hours of the morning when all was dark and quiet, I celebrated my favorite time of day with my hands in some flour, breaking down and blending in cold, greasy bits of shortening. I was making biscuits. I wasn’t even awake yet. And I was in heaven. How could something so simple make me so happy? Ah, I answered my own question in that question. Simple is the answer.
Making biscuits, like making anything, really, provides that simple transcendence of being in the moment. Your heart is alight and your hands are busy, and in the end something has manifested beyond your earthly heaviness ad hopefully, that thing is a light, fluffy biscuit.
There’s a little bit of biscuit in my heart (most likely, quite literally). It is familial, cultural. Might be one of the first things I made because if memory serves me right, I recall quarter-sized biscuits going into my working toy oven on a tiny baking sheet. They are the bread of the poor, the rural, the Southern and even though we are Kansans, there has always been a strong Southern sense to my family household, particularly the kitchen.
I read once a famous cook declared it should be biscuits, not stars, on the American flag. Next to apple pie, the biscuit is the most American of baked goods, particularly breads. In the simple kitchens of yore, a batch of biscuits could come together easily and quickly with what was at hand. But the name “biscuit” did not originate in America — it comes from somewhere else and refers to something else. How did our moist, flaky coins of salty floured goodness, dripping in butter, earn the name of an English cookie?
 From what I’ve read in James Villas book, ,”Biscuit Bliss
: 101 Foolproof Recipes for Fresh and Fluffy Biscuits in Minutes” (2004) the roots of the name — “bis” (meaning twice and “coctus” (meaning cooked) — would seem to apply to a crunchy cookie or cake over a lofty puff of fatty bread. The early British term “bysquyotes” ended up attaching to the crispy teatime snacks we call cookies and the Scottish term “skonns” meant a more biscuit-like creature.
Early breads of America were called biscuits (in Villas book, he writes that the 1828 Webster definition made a biscuit a bread in black and white), but why? I like to think the naming of our American bread as “biscuit” came out of an act of rebellion. I think the new residents of this country decided to distance themselves from their British roots and gave the name biscuit to the least cookie-like creature possible. Claim the name for something new.
I like this notion — a bread of rebellion. I didn’t need another reason to love biscuits, but why not?
September was National Biscuit Month, so I became fixated and near-obsessed with my favorite bread. Here’s what I made.
Yer basic biscuit
Biscuits call to me from the pages of cookbooks and the items on a menu. I tend to order restaurant biscuits often, and it is a risk, like ordering gravy (see blog of 11/11). A restaurant biscuit should be made on the premises or constructed nearby, fresh, not a creature that has been entombed in a freezer. Some of us can tell when a biscuit has merely been unearthed from the frozen depths and reheated. The texture is uneven, the flavor unpalatable, and if heated, in a microwave especially, the biscuit ends up wooden as a cabinet knob. But a homemade restaurant biscuit — what a treat! I’ve been pleasantly surprised. Biggest biscuit ever ordered was at least five inches across and slathered in homemade gravy at the Black Rabbit Restaurant in Troutdale, Ore. Smallest, but no less flavorful and completely proven to be made on-site thanks to the biscuit nursery window (see blog of 7/11), were small buttery biscuits from the delightful Loveless Cafe in Nashville.
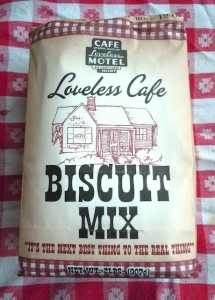 Still, the best biscuits are ones you make yourself. Mixes will dp the trick. There’s a reason Bisquick has been around since the 1930s and even the Loveless Cafe sells its own biscuit mix, which works quite well.
But the truth is, making biscuits from scratch is nearly as easy as conjuring them from a mix, and doubly satisfying.You have to find the right recipe. Hundreds exist, with this variation and that, some use shortening, some use butter; some use plain milk, some use buttermilk. Some are cut in diminutive rounds; some are scooped out rough and big as cat heads. Some brush the tops with butter. Some biscuits are baked so they touch each other; some are baked so they stand alone.
Most will taste equally good, especially if they are served hot and soaked with butter.
 But I have a go-to recipe that I return to again and again, without fail. It is simple and reliable. These biscuits lift to even, lovely heights, get perfectly golden brown and naturally split open right in the middle to accept butter, jam and the like. It’s Betty Crocker’s recipe (and she invented Bisquick!), but it’s not in every Betty Crocker cookbook‚ this one comes from a version published in 2000.
One ingredient seems to set this recipe apart from others. It certainly affects the flavor of the biscuit and could possibly have some influence on its texture — one tablespoon of sugar. 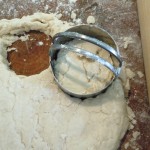 The biscuits are not overly sweet because of this, but there is an enhancement in flavor that seems to make these biscuits rise above the rest I’ve tried. Betty offers options in the recipe to make it with or without buttermilk and also to make it as a drop biscuit if you haven’t the time or inclination to roll the dough and cut. I delight in the rolling and cutting process, as well as the buttermilk, so that’s how I go.
Biggest rule in biscuit-making? Like pie crust, DO NOT OVERMIX. Some recipes, like this one, do require some kneading, but keep it to a minimum, once you have just gathered the dough together. A light hand will lead to a light biscuit and a light heart!
Buttermilk Baking Powder Biscuits
From Betty Crocker’s Cookbook (2000)
Makes 10 to 12 biscuits
2 cups all purpose flour
1 tablespoon sugar
2 teaspoons baking powder
1/4 teaspoon baking soda
1 teaspoon salt
1/2 cup shortening
3/4 cup buttermilk
Heat oven to 450.
Mix flour, sugar, baking powder, baking soda and salt in medium bowl. Cut in shortening, using a pastry blender or criss crossing two knives, until mixture looks like fine crumbs. Stir in buttermilk until dough leaves side of bowl (dough will be soft and sticky).
Place dough on lightly floured surface. Knead lightly 10 times. Roll or pat 1/2 inch thick. Cut with floured 2 to 2 1/4-inch round cutter. Place on ungreased cookie sheet about 1 inch apart for crusty sides, touching for soft sides.
Bake 10 to 12 minutes, until golden brown. Immediately remove from cookie sheet. Serve warm.
You can’t beat a biscuit‚ or can you?
Long ago, when I was a fact-checker for a publisher of travel guides, I ran across a baking anomaly: a beaten biscuit. I was fact-checking a guide on Baltimore (this was one way to travel — verifying phone numbers, addresses and landmarks of well-touristed places gave one some sense of the world outside one’s cubicle, “Hello, could you tell me if the Lincoln Memorial is still in the same spot?”). One culinary item of note in Baltimore (besides crab cakes) was something called a beaten biscuit. It was very old world or at least, pre-leavening agent, created and made in the Eastern and Southern United States, these dough nubs were created by pounding the dough with an axe handle, shovel, heavy club, what-have-you, in order to provide the lift lacking from a lack of leavening agent. In theory it made sense, even though it went against every notion I’d ever had of the light-hand touch of biscuit making.
In his book “Biscuit Bliss,” James Villas writes that the beaten biscuit or “sea biscuit” (it was something other than a horse?!) were the staples aboard early whaling ships and are often identified with the state of Maryland. In his book, he claims the biscuits are “fun to make.” Fun? Historic? A recipe at hand? You don’t have to ask me twice. I settled in for an afternoon of beaten biscuits.
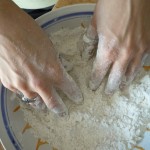 I decided on an instrument for the beating first. Lacking an axe (Hello, Santa? Are you listening?), I opted for my basic heavy rolling pin. I pondered whether or not the beating should take place inside the house or out in the garage where other brutish projects take place. I’ll do it inside, thinks I, it won’t be any more disturbing than hammering a nail, right?
This is a very “simple” recipe in terms of ingredients. You cut a small amount of shortening into flour and salt and then add water to make the dough. Then the beating begins…and the beating changed everything.
Looking back, I can see how a number of components came together and brought me to this conclusion: I made beaten biscuits once, but never again.
 First off, I made them the afternoon after a weightlifting class. Arms already compromised, I chose to beat biscuits. Bad move. Second off, beating them inside traumatized the entire household, namely the young rabbit with whom I share company. He hid under a blanket during the entire process.
I will say the beating does smooth the dough (and gave the beater an opportunity to not only work up a sweat plus exorcize the woes of existence), as the recipe encouraged. How could it not? But it’s one thing to stir a bowl of batter for 10 minutes,quite another to whack a dough for 15. I certainly connected with early settlers on this one, and 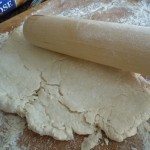 appreciated the time travel, but I am glad I was born in a more modern age, where baking powder is in the pantry. And when shoulder replacement surgery is fairly common.
I felt a little better about my beaten biscuit misgivings upon reading this quote in Villas’ book by Eliza Leslie, author of “Directions for Cookery in its Various Branches” (1837): “[Beaten biscuits] are the most laborious of cakes, and also the most unwholesome, even when made in the best manner‚ Children should not eat these biscuits–nor grown adults either, if they can get any other sort of bread. When living in a town where there are bakers, there is no excuse for making Maryland biscuit.”
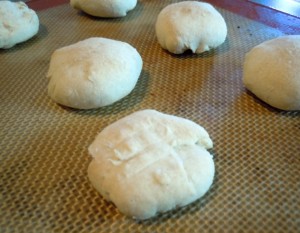 The biscuits are surprisingly tasty, actually. Small, salty, with a crusty exterior, they do taste like a cracker. Not bad. But I will leave the beating to the re-enactors with frustrations to exhaust.
If that means you, here’s the recipe!
Maryland Beaten Biscuits
From “Biscuit Bliss: 101 Foolproof Recipes for Fresh and Fluffy Biscuits in Just Minutes” (2004)
Makes 50 biscuits
4 cups all purpose flour
1 1/2 teaspoons salt
5 tablespoons chilled vegetable shortening
1 to 1 1/2 cups water, as needed
Preheat oven to 350.
In a large mixing bowl combine the flour and salt and stir well. Add the shortening and rub it into the flour with your fingertips until the mixture is mealy. Gradually add enough of the water to form a soft dough, stirring with a wooden spoon.
Transfer the dough to a lightly floured work surface and begin beating it all over with a floured rolling pin, folding it back on itself as it flattens, and beating constantly till very smooth, at least 15 minutes.
Pinch off small pieces of the dough, about the size of a large marble, roll between the palms of your hands, and place on a baking sheet about 1/2 inch apart. Flatten the balls with a fork, then press again to form a crisscross pattern. Bake in the upper third of the oven till the biscuits are lightly golden and quite crisp, about 30 minutes.
Blogger’s note: I made half the recipe amount!
Pretty please, with a biscuit on top
There are two camps in the cobbler fan club — those who prefer a pie crust-type of topping and those who love a biscuit top. Of course, I fall in the latter. I was reared on cobblers with hefty cushions of buttery biscuit perched above bubbling stews of peach, cherry, blueberry, apple. So, to this day, cobbler is that‚ anything else called a cobbler is a pie without a bottom.
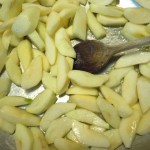 I ran across this mouthwatering recipe of an apple cobbler with a cheddar cheese topping, and was intrigued by it on a number of fronts. I liked how the apples were cooked slightly on the stove before the cobbler was assembled, thus eliminating the possibility of a woody, underdone apple in the dessert. Then, the topping! I am aware of placing a slice of cheddar atop apple pie, but here the cheddar is blended into the biscuit topping. Ingenius!
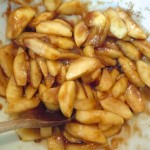 Making this cobbler was a sensory delight. When those hot apples were dumped into the bowl containing brown sugar, cinnamon and lemon peel, the aroma arising was near heavenly‚ wish it could be bottled! The cobbler topping comes together quite easily, a simple drop biscuit with both the tang from the cheddar and buttermilk. A dusting of sugar on top seals the deal.
What a delicious dessert‚ perfect for fall. The apples were seasoned and spiced perfectly and cooked to just the right tenderness. The dense, buttery biscuit topping with that hint of cheddar cheese was the ideal complement. With a cobbler of the type, I love how just the bottom part of the biscuits absorb some of the fruit filling.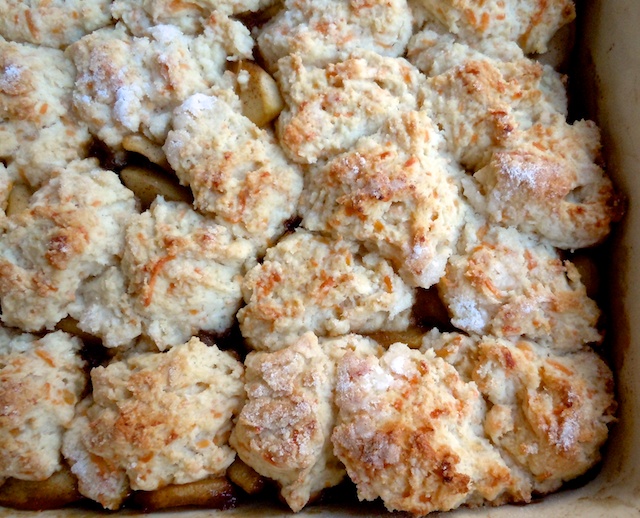
Apple Cobbler with Dropped Cheddar Biscuit Topping
From O., The Oprah Magazine (www.oprah.com)
Makes 8 servings
3/4 cup packed light brown sugar
1 teaspoon freshly grated lemon peel
1/2 teaspoon cinnamon
4 tablespoons butter
10 Granny Smith apples , peeled, cored, and thinly sliced
3 cups flour
1/4 cup plus 1 tablespoon sugar
1 tablespoon  baking powder
3/4 teaspoon salt
3/4 cup cold butter , cut into pieces
1 1/2 cups coarsely shredded sharp Cheddar cheese
1 cup buttermilk
Preheat oven to 375. In a large bowl, mix brown sugar, lemon peel and cinnamon.
In a 12-inch skillet, melt 2 tablespoons butter over medium-high heat. Add half the apples; cook, stirring, 5 minutes, until tender. Gently stir into sugar mixture. Repeat process with remaining 2 tablespoons butter and apples. Transfer filling to a 13″ x 9″ baking dish; cover and keep warm.
In a large bowl, combine flour, 1 tablespoon sugar, baking powder and salt. With a pastry blender or 2 knives used scissor-fashion, cut in butter until mixture resembles coarse crumbs. Stir in Cheddar and buttermilk. Turn dough onto a work surface (dough will be crumbly). Knead until dough is smooth and holds together.
Uncover filling. Drop dough by walnut-size pieces over apple mixture to cover; sprinkle with remaining 1/4 cup sugar. Bake until filling is hot and bubbling and biscuits are golden, 35 to 40 minutes. Let stand 15 minutes before serving. Top with vanilla ice cream.
A biscuit by any other name
I call myself A Woman Sconed‚ I’ve made lots of scones (though their presence here has been scant, I’ve hopefully got many moons to lay down more scones in this space) and I’ve made lots of biscuits. Technically, a scone is a biscuit, but one of the biggest differences is that many scone recipes have eggs; most biscuits do not.
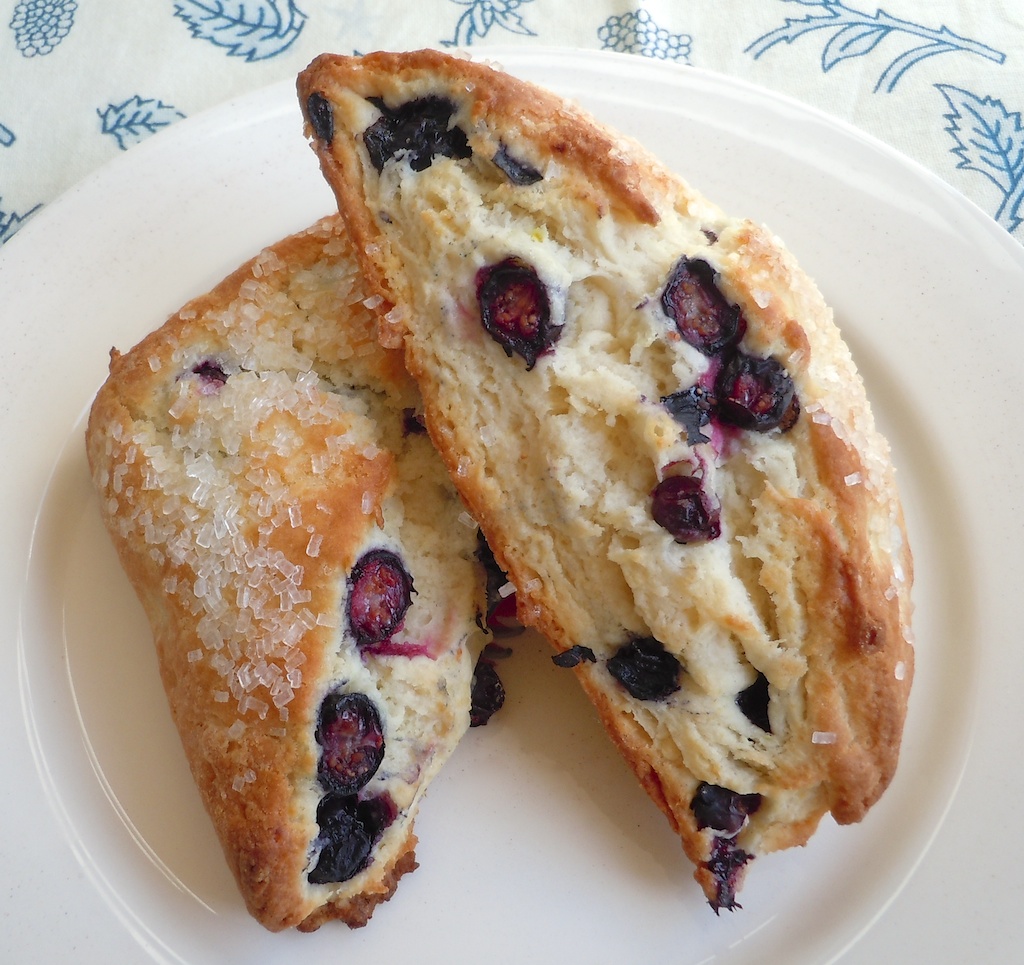
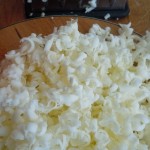 My first scone (Orange Almond, featured in my 9/10 blog entry) will always have a special place in my heart, and while flavorful and delicious to be sure, I think the Blueberry Scones recipe from Cook’s Illustrated magazine is the best — certainly that I’ve ever made — and maybe that I’ve ever eaten.
Tender, moist, light, sweet, loaded with juicy blueberries, they are a bit labor-intensive (as many Cook’s Illustrated recipes are), but well worth any extra steps taken. Anyone anti-scone out here should have one of these babies — warm from the oven or even not — laid before him, and then ask him, “Do you still think scones are dry and bland, Mister?” And he, glazed over and glassy-eyed from absorbing something most delicious, will have nothing to say but, “Mmmmm.” Give him a cup of tea.
You’ll notice in this recipe that instead of dicing up butter to work it into the flour, the butter is frozen, then grated. A smart move, as the butter is more evenly distributed and less mixing is required. A note on grating butter: You’d be surprised on how loud this can be, particularly in the wee hours of the morning. So, like the beaten biscuit, pick a proper time to take on this endeavor so that you do not annoy the entire household. They will thank you when they are eating their scones.
 The dough incorporates sour cream along with milk as the liquid. The sour cream, I think, is key to the scones tenderness and flavor, along with a whiff of lemon zest.
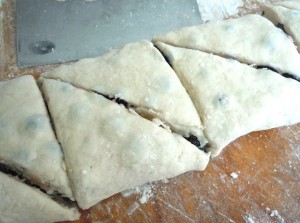
The dough is folded and chilled, then rolled out, filled with blueberries and folded again. While scones and biscuits naturally form layers due to the components of their doughs, these scones form layers at the near puff pastry dough level.
 Beautiful, golden fruit-filled wedges, tender layers, sparkling with sugar atop. No additional butter required, but do as you may. The humble biscuit is transformed, yet again,from something beyond its basic heritage into something out of this world.
Blueberry Scones
From Cook’s Illustrated
Makes 8 scones
16 tablespoons unsalted butter, frozen whole ( see note above)
1 1/2 cups blueberries, fresh, about 7 1/2 ounces, picked over ( see note)
1/2 cup whole milk
1/2 cup sour cream
2 cups unbleached all-purpose flour, plus additional
all-purpose flour, for work surface ( 10 ounces)
1/2 cup sugar, plus
1 tablespoon sugar, for sprinkling ( 3 1/2 ounces)
2 teaspoons baking powder
1/4 teaspoon baking soda
1/2 teaspoon table salt
1 teaspoon lemon zest, grated
Adjust oven rack to middle position and heat oven to 425 degrees. Score and remove half of wrapper from each stick of frozen butter. Grate butter and place grated butter in freezer until needed. Melt 2 tablespoons of remaining ungrated butter and set aside. Save remaining 6 tablespoons butter for another use. Place blueberries in freezer until needed.
Whisk together milk and sour cream in medium bowl; refrigerate until needed. Whisk flour, 1/2 cup sugar, baking powder, baking soda, salt, and lemon zest in medium bowl. Add frozen butter to flour mixture and toss with fingers until thoroughly coated.
Add milk mixture to flour mixture; fold with spatula until just combined. With rubber spatula, transfer dough to liberally floured work surface. Dust surface of dough with flour; with floured hands, knead dough 6 to 8 times, until it just holds together in ragged ball, adding flour as needed to prevent sticking.
Roll dough into approximate 12-inch square. Fold dough into thirds like a business letter, using bench scraper or metal spatula to release dough if it sticks to countertop. Lift short ends of dough and fold into thirds again to form approximate 4-inch square. Transfer dough to plate lightly dusted with flour and chill in freezer 5 minutes.
Transfer dough to floured work surface and roll into approximate 12-inch square again. Sprinkle blueberries evenly over surface of dough, then press down so they are slightly embedded in dough. Using bench scraper or thin metal spatula, loosen dough from work surface. Roll dough, pressing to form tight log. Lay seam-side down and press log into 12 by 4-inch rectangle. Using sharp, floured knife, cut rectangle crosswise into 4 equal rectangles. Cut each rectangle diagonally to form 2 triangles and transfer to parchment-lined baking sheet.
Brush tops with melted butter and sprinkle with remaining tablespoon sugar. Bake until tops and bottoms are golden brown, 18 to 25 minutes. Transfer to wire rack and let cool 10 minutes before serving.
To Make Ahead:
After placing the scones on the baking sheet, either refrigerate them overnight or freeze. When ready to bake, for refrigerated scones, heat oven to 425 degrees and follow directions in step 6. For frozen scones, heat oven to 375 degrees, follow directions in step 6, and extend cooking time to 25 to 30 minutes.
