 I don’t consider myself a great pie baker, and I’ve not made a lot of pies. I’ve had better success with other baked goods. The problem I have – which recurs in any number of areas of my life – is I suffer from great anxiety about pie baking, and when I suffer from anxiety about anything, it is the end result of whatever I’m doing that suffers. So, with age, I’m learning to relax and loosen up a bit and try my hand at the source of fears of old.
What makes me anxious about pies? Well, there’s the crust, which can be ruined in any number of ways – depending on the recipe, the crust can be greasy or heavy or flavorless and crack or stick upon rolling; depending on the baker’s skill or lack of patience, the crust can be tough from overkneading, unevenly rolled, messily crimped, overbrowned or underbaked. The filling? Always a gamble. It can be too sweet or undercooked or not fill out the pie properly or be too full and overflow and burn. And, let’s face it, baking a pie from scratch is a laborious affair. I recently made an apple pie – appropriately enough, on Labor Day — and between making and chilling the crust, picking (from my tree – see previous entry), peeling, coring and slicing the apples, making the filling, rolling out the top and bottom crust (tense, very tense), and hovering around the oven to ensure proper doneness of filling without incineration of crust, I was exhausted. I can see why Mrs. Smith and Marie Callendar do such a brisk business.
OK, now let me put all that negativity away on a shelf and extol the virtues of pie baking. The hard work and anxiety – as with anything — are worth the effort. When you’ve made a pie and have the dough under your nails and floured handprints on your pants to prove it, you know you’ve really done something. And the end result, nine times out of 10, is going to be better than any purchased pie. And I come from a great pie baker. I recall fondly the Wednesdays before Thanksgivings as “Pie Day,†when I stood on my little blue chair so I could watch my mother roll out yards of pie dough on the old pull-out cutting board in her kitchen.
With Thanksgiving approaching, I decided to have a head-on collision with my pie problems and go full force – making a pumpkin pie from scratch using a real live pumpkin! I had made pumpkin pies in the past using canned pumpkin, and despite the fact that any number of professionals have assured us that canned is just as good as fresh for a pie, I not only wanted to see if there really was a difference, but see if I could do it successfully.
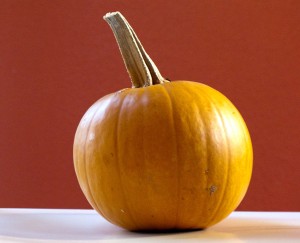 My usual pie of choice for Thanksgiving is sweet potato, but the little sugar pie pumpkins – cute as can be — had been calling my name in the grocery stores for some time. I bought a four-pounder, then began studying recipes for crusts and fillings. I ended up fusing the work of three people – well, four if I count myself! For the crust, I decided on the recipe by Food Network’s Tyler Florence. I had seen him make his crust on an apple pie episode of his show and was intrigued by his use of butter entirely (usually not recommended for pie crust) and the addition of lemon zest to the dough. For the filling I melded the recipes of “foodologist†Alton Brown and classic American cookbook author Marion Cunningham, and I’d like to believe they wouldn’t mind that I teamed them together.
First, the crust. I was dubious about a butter-only pastry dough because what I had always understood was that shortening or lard was not only necessary for malleability of the dough, but also flakiness of the baked crust. Still, Tyler’s recipe was top-ranked on the Food Network website. As I made the pastry dough, I noticed I needed to add more ice water – no worries, as it was suggested in the recipe that that may be a possibility. I delicately and minimally mixed dough – just to the point of it gathering together. It was moist and slightly crumbly. I was worried. I had visions of it cracking and breaking apart as I rolled it out. OK, put that aside and chill the damn dough.
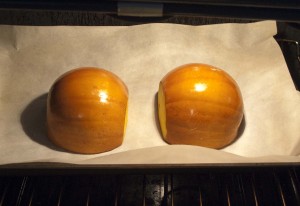 Now, the pumpkin. My little pumpkin was so perfect, it saddened me a bit to split him in half. Alas, he was sacrificed. As Alton Brown instructed. I scooped out the pumpkin’s seeds and stringy fiber, sprinkled salt on each half and placed them flesh-side down on a parchment-lined baking sheet and baked them for about 40 minutes at 400 degrees. The house took on a lovely lit jack o’ lantern aroma. Once cooled, the pumpkin flesh scooped easily away from its peel. The puree was a little watery (I had been warned of this by an experienced baker friend), but Alton’s recipe has you cooking the puree to thicken it, thus eliminating excess liquid.
While waiting for my puree to cool, I turned to the crust, which, having chilled in the refrigerator overnight, was on the counter warming a little (butter does not have a lot of give when cold). With a shaking rolling pin, I began to roll out the crust. It was surprisingly and delightfully pliable, spreading out smoothly. I rolled it to the desired size, leaving it slightly thick, my preference for cream pies. Suddenly riding a wave of confidence, I decided to throw caution to the wind and try the move I’d seen Tyler implement when he’d made his crust – rolling it onto the pin, then unfurling it into the pie pan. This could ruin the whole damn thing, but I suddenly didn’t care and most importantly, I DID NOT DOUBT. And I did it! If you are asking, “Where’s the photo? Where’s the proof?†Well, I was by myself, and it was logistically impossible at the time to capture the feat on film – but I will do it again. So, after painstaking crimping (pretty decent job), I moved on to finish the filling.
Here, I took elements from Alton’s and Marion Cunningham’s recipes. I liked Marion’s use of a myriad of spices and evaporated milk; but I thought Alton’s use of brown sugar rather than white sugar, an additional egg yolk along with two eggs and, as mentioned earlier, his cooking to thicken the puree seemed good ideas. Neither recipe called for vanilla, but I added it of my own accord. I know that it is dangerous to stray and improvise in baking recipes, but with two expert methods to consult, how could I go wrong?
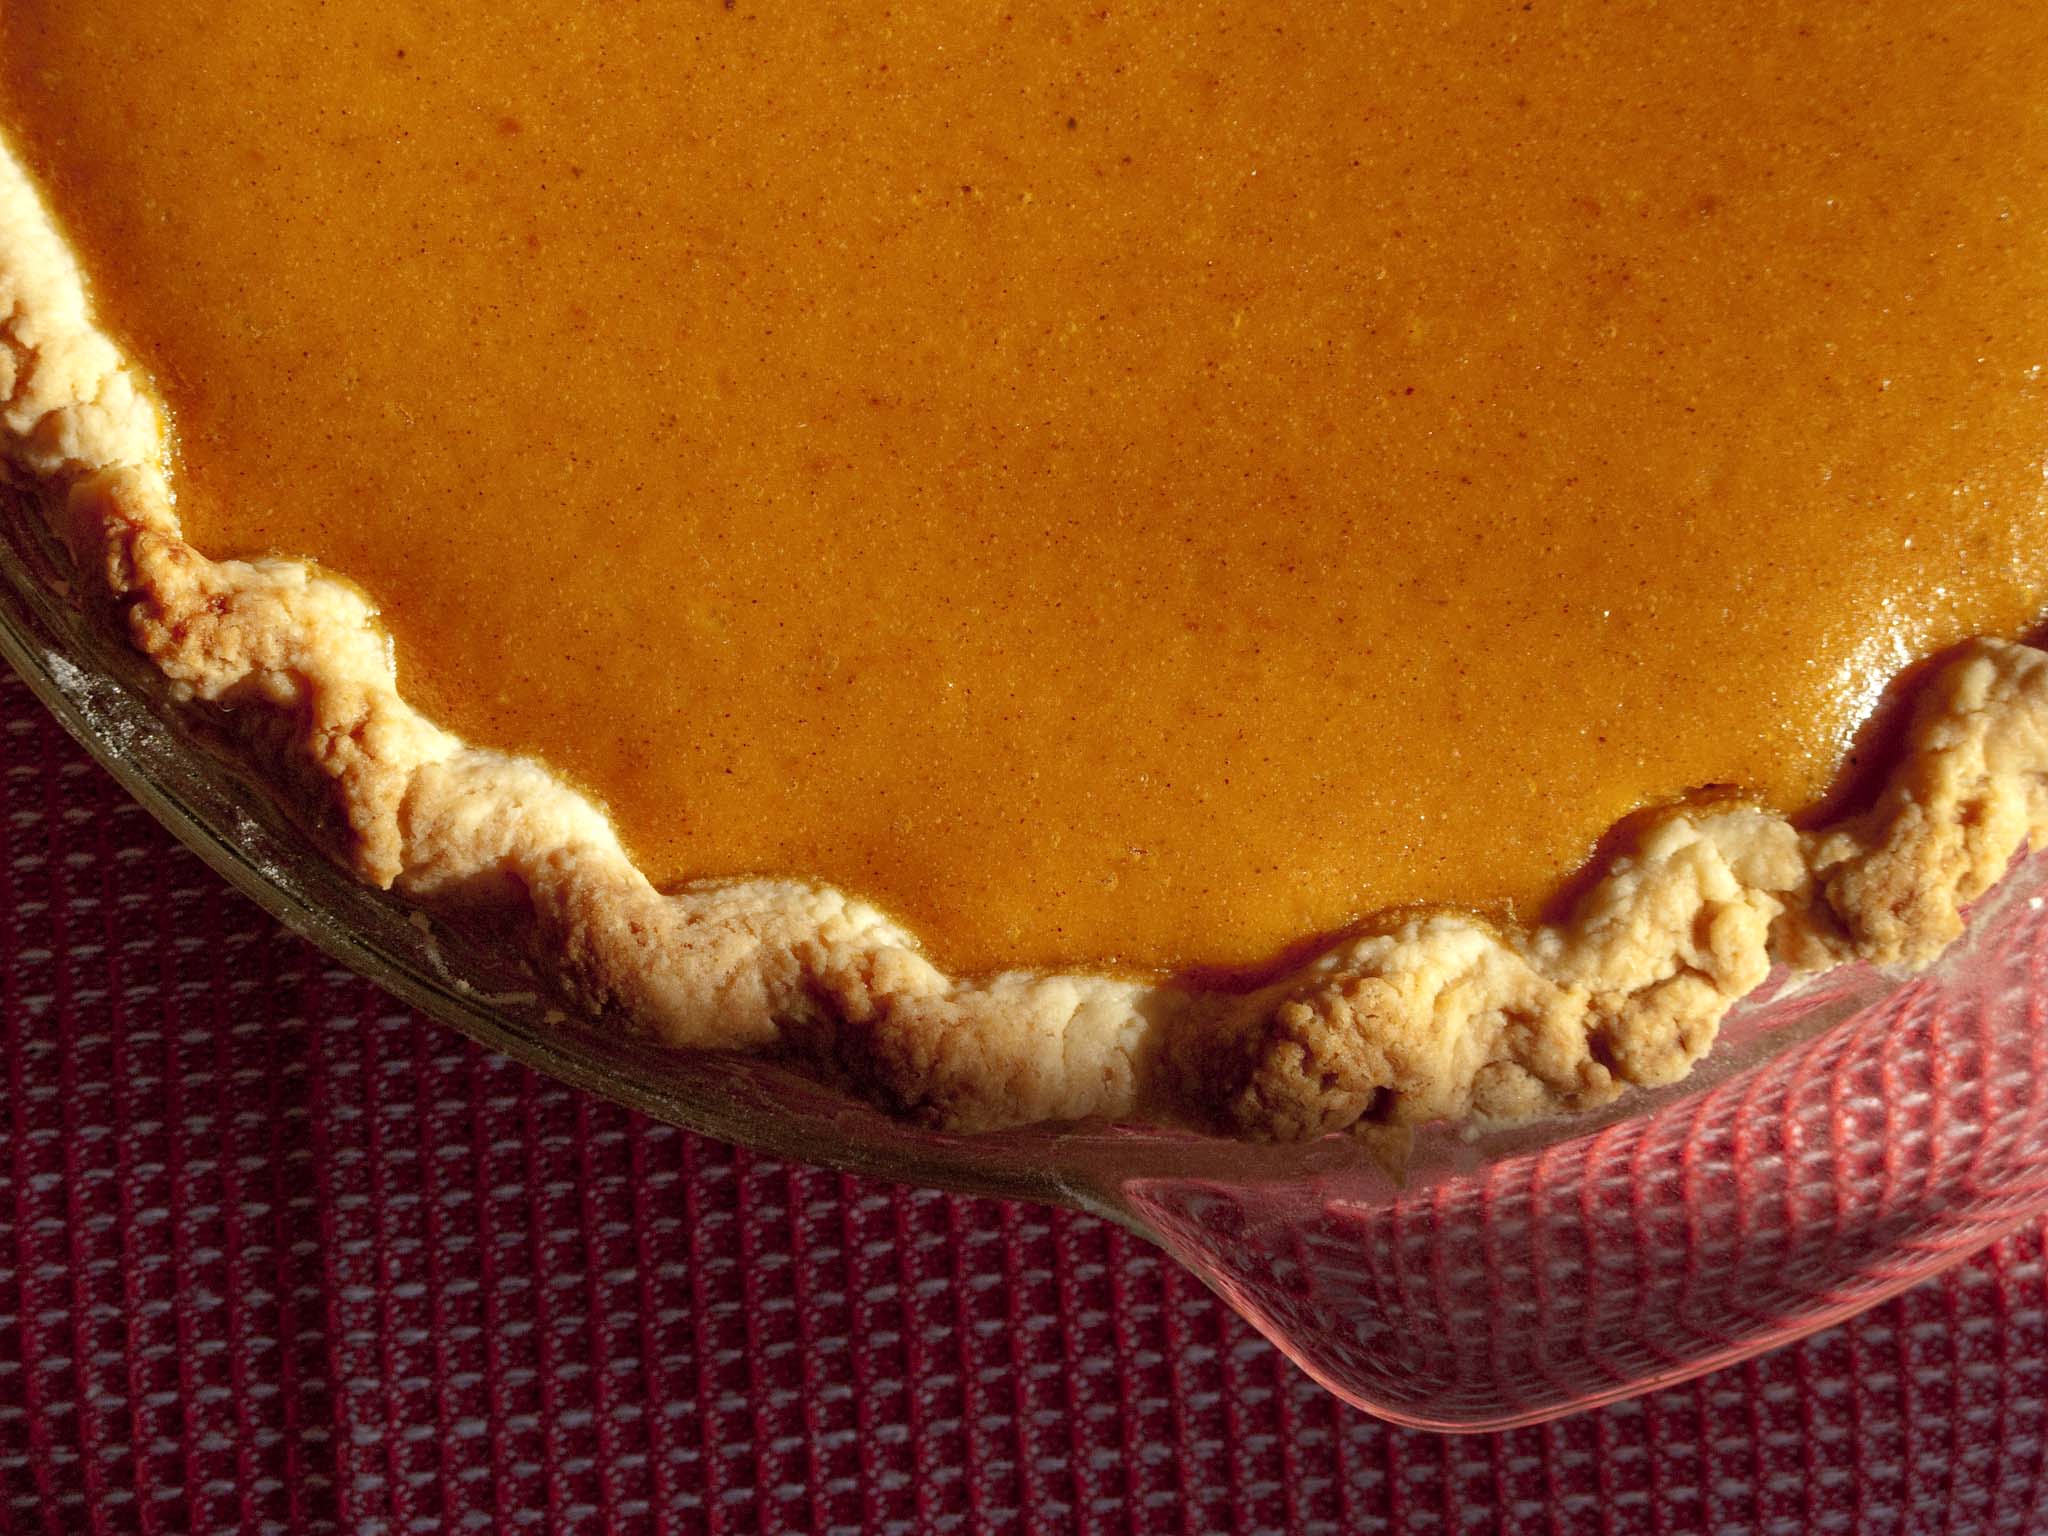
The filling was thick and smooth and ample enough to fill the pie up to it’s crimped ledge. I carefully placed the pie on the baking sheet and waited. Oftentimes in the past, I have overbaked my pumpkin pie to the point of a cracked surface. It doesn’t affect the pie’s flavor, but makes it les attractive. I vowed to not let that happen this time. I employed the shimmy method to test doneness, wiggling the pie and noting that, if the filling still has a little shimmy just in the middle, it is adequately cooked. The pie plumped up beautifully and was taken out of the oven with a little jiggle in its middle. I waiting for the filling to sink, as often happens with pumpkin pies, but it stayed full and plump even as it cooled, and its surface was so even and shiny, it looked as if you could skate across. It was clearly the best-looking pumpkin pie I had ever made, but would its taste live up to its looks?
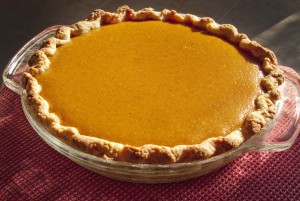 Well, it was pretty damn good. Actually, it was the best-tasting pumpkin pie I have ever made. The filling was rich and creamy smooth, just firm enough and without the grit that sometimes accompanies canned pumpkin. The pumpkin flavor was fresh and full, and with the spices and rich brown sugar it was autumn in your mouth! The crust. OK, I know I sound ridiculous and a bit of a braggart, but the crust was the best I think I’ve ever eaten – Mr. Florence has a winner here. Pie crust is normally a mere skiff for the pie filling, holding it afloat — a hidden backdrop, something that could not stand on its own as a delectable treat. This crust is different. The texture is substantial without being heavy and very tender. The flavor is buttery and sweet, and the lemon zest turns the crust into a pastry that could be savored without a bit of filling near it.
So, as 2011 approaches, I consider this: Pie of the Month — a regular and daring foray into crusts and fillings to try out a range of possibilities. As for pumpkin pie, however, there may be no more need for experimentation. Like the Pilgrims, my ship has landed.
Pumpkin Pie
Adapted from recipes by
Alton Brown (Food Network) and
Marion Cunningham (Saveur magazine)
½ Basic Pie Pastry (see recipe below)
3 cups pumpkin puree
1 ½ cups evaporated milk
½ teaspoon salt
1 teaspoon cinnamon
½ teaspoon nutmeg
¼ teaspoon ground ginger
Pinch of ground cloves
¾ cup dark brown sugar
2 large eggs
1 large egg yolk
½ teaspoon vanilla
Preheat oven to 425 degrees. Roll out ½ of the pie pastry dough (you can freeze the other half) to fit a 9-inch pie pan, leaving ½ inch hanging over the edge of the pan. Fold under the edge and crimp. Place pie shell in refrigerator until filling is ready.
For the filling: bring the pumpkin puree to a simmer over medium heat in a 2-quart saucepan. Cook, stirring occasionally, until slightly thickened, 2 to 3 minutes. Add the evaporated milk, spices and salt. Return to a simmer. Remove mixture from the heat and cool 10 minutes
Whisk the brown sugar, eggs, egg yolk and vanilla until smooth in a large bowl. Add the pumpkin mixture and whisk until thoroughly combined. Pour into pie shell.
Place filled pie on a baking sheet and put into the oven. Bake at 425 degrees for 15 minutes, then reduce heat to 350 degrees and continue baking until filling is set, (but still slightly wiggly in the center) about 30 to 40 minutes. Cool before serving.
Basic Pie Pastry
Recipe by Tyler Florence (www.foodtv.com)
Serves: enough for 1 double-crust pie or crostata
Ingredients
2 cups all-purpose flour, plus more for rolling
3 tablespoons sugar
1/4 teaspoon salt
1 lemon, zested and finely grated
3/4 cup (1 1/2 sticks) cold, unsalted butter, cut into small chunks
1 egg yolk
2 tablespoons ice water, plus more if needed
Directions
Combine the flour, sugar, salt, and lemon zest in a large mixing bowl. Add the butter and mix with a pastry blender or your fingers until the mixture resembles coarse crumbs. Add the egg yolk and ice water and work that in with your hands. (Or do the whole thing in a food processor, pulsing a couple of times to combine the dry ingredients, then pulsing in the butter, and then the egg.) Check the consistency of the dough by squeezing a small amount together between thumb and forefingers: You want there to be just enough moisture to bind the dough so that it holds together without being too wet or sticky. If it’s still crumbly, add a little more ice water, 1 teaspoon at a time. When you get it to the right consistency, shape the dough into a disk and wrap it in plastic. Put it in the refrigerator and chill for at least 30 minutes.
